Solutions Built for Your World of Work
From visual indicators to electronic sensors, Zebra’s comprehensive portfolio helps support compliance and reduce waste—delivering the visibility, accuracy and data integrity needed to protect product quality. Explore real-world use cases across the industries we serve.
- Retail
- Hospitality
- Pharmaceutical Manufacturing
- Manufacturing
- Warehouse and Distribution
- Transportation and Logistics

Retail
- Cold chain compliance for grocery and pharmaceuticals
- Waste reduction and process automation
- Inventory quality assurance at distribution and store level
- Alerts and notifications for temperature excursions

Hospitality
- Temperature monitoring for sensitive assets
- Delivery validation for perishable items

Pharmaceutical Manufacturing
- Vaccine and biologics temperature tracking
- Pharmacy and lab storage compliance
- Transport monitoring between facilities or to patients
Manufacturing
- Monitoring sensitive raw materials and components
- Temperature monitoring during regulated production
- Supporting GMP/GPD compliance
- Logging temperature in staging and storage areas
- Monitors for potential damage during internal transfers
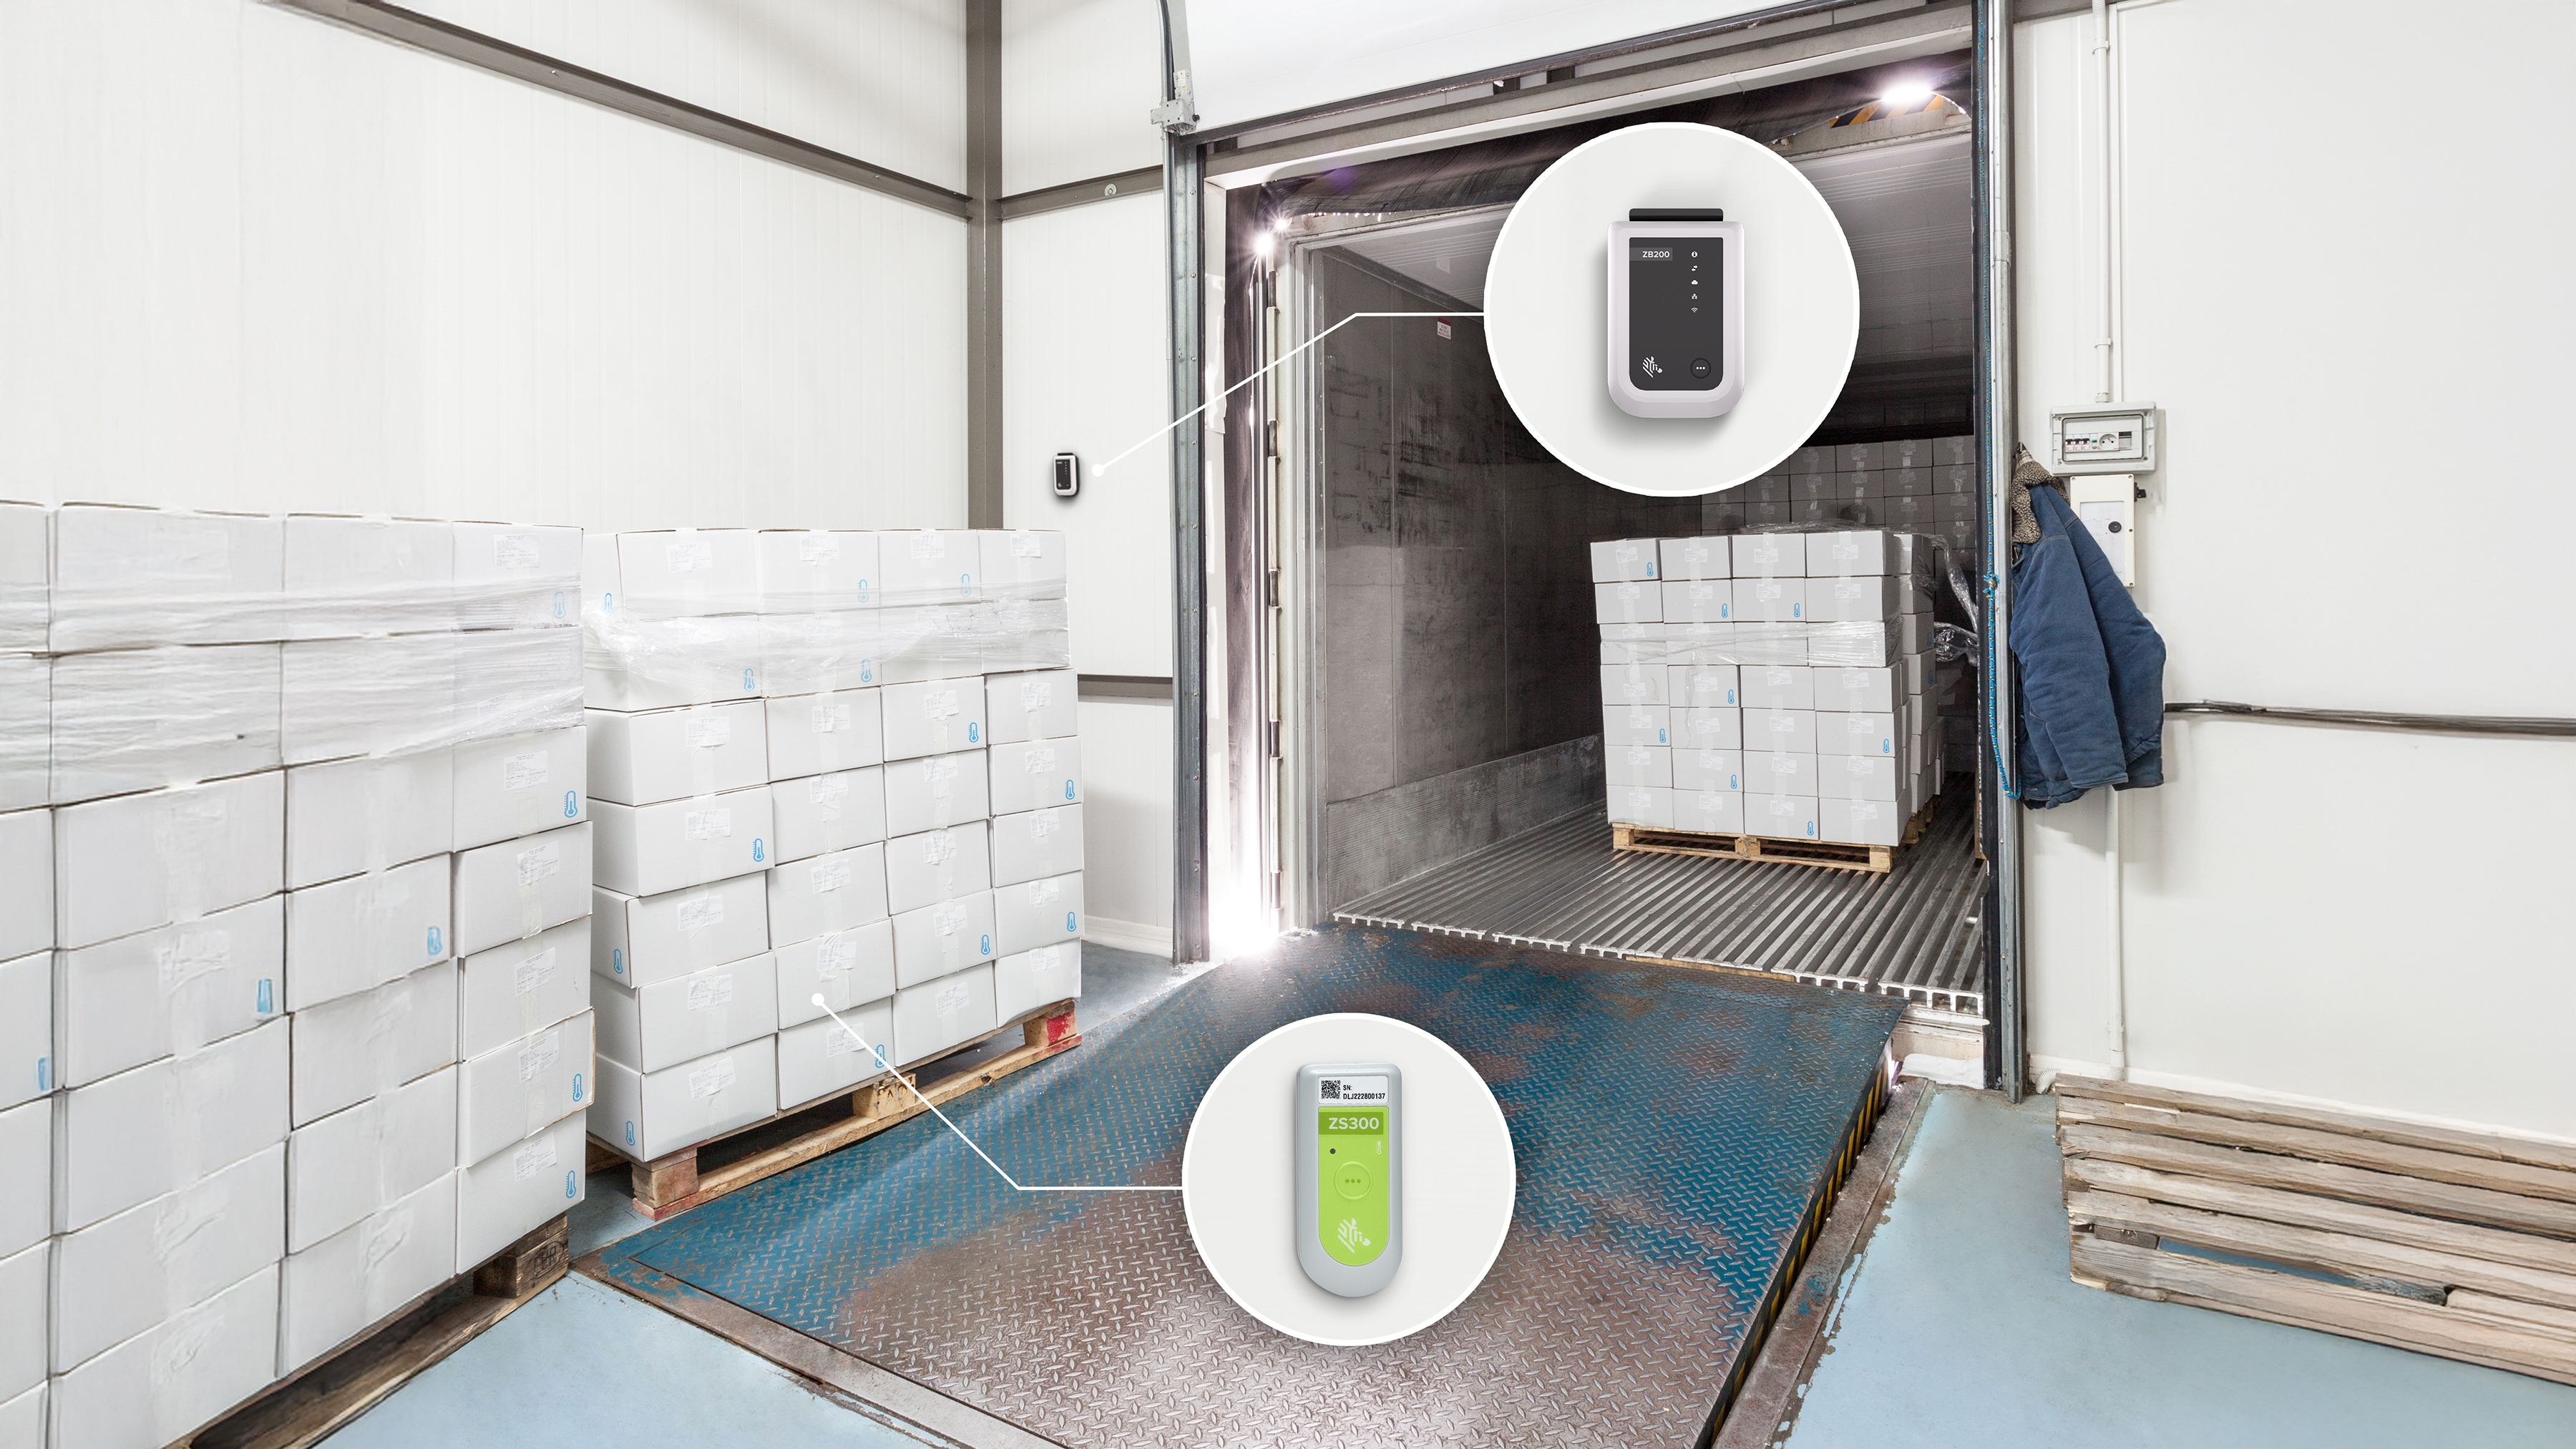
Warehousing and Distribution
- Zoned monitoring across storage environments
- Automating temperature data collection
- Automating processes and reducing manual labor
- Excursion detection and altering

Transportation and Logistics
- In-transit temperature monitoring (refrigerated trucks, containers)
- Condition tracking throughout supply chain
- Exception alerts for spoilage risk or regulatory breach
- Visibility from first to last mile
- Sensor data integration with WMS/TMS system
The Power of Zebra's Connected Ecosystem
Zebra’s ecosystem of hardware, software, services and partners powers visibility, compliance and smarter decisions.

Connect ZS300 Sensors with Mobile
Develop mobile apps that connect to Zebra’s ZS300 environmental sensors using the ZSFinder SDK. Ideal for cold chain use cases, this SDK enables configuration, data capture and device management—no bridge required. Join 9+ ISVs already building mobile-first solutions.

Support That Drives Uptime, Insight and ROI
Zebra helps you deploy, manage and optimize your environmental sensor solutions with expert support and cost-effective strategies—ensuring peak performance, minimal downtime and maximum return across your operations.

Solutions Backed by Global Experts
Zebra’s global partner ecosystem connects you with trusted experts who understand your industry and deliver tailored cold chain solutions—accelerating innovation, supporting scale and helping ensure product quality and regulatory compliance.
Environmental Sensors Categories
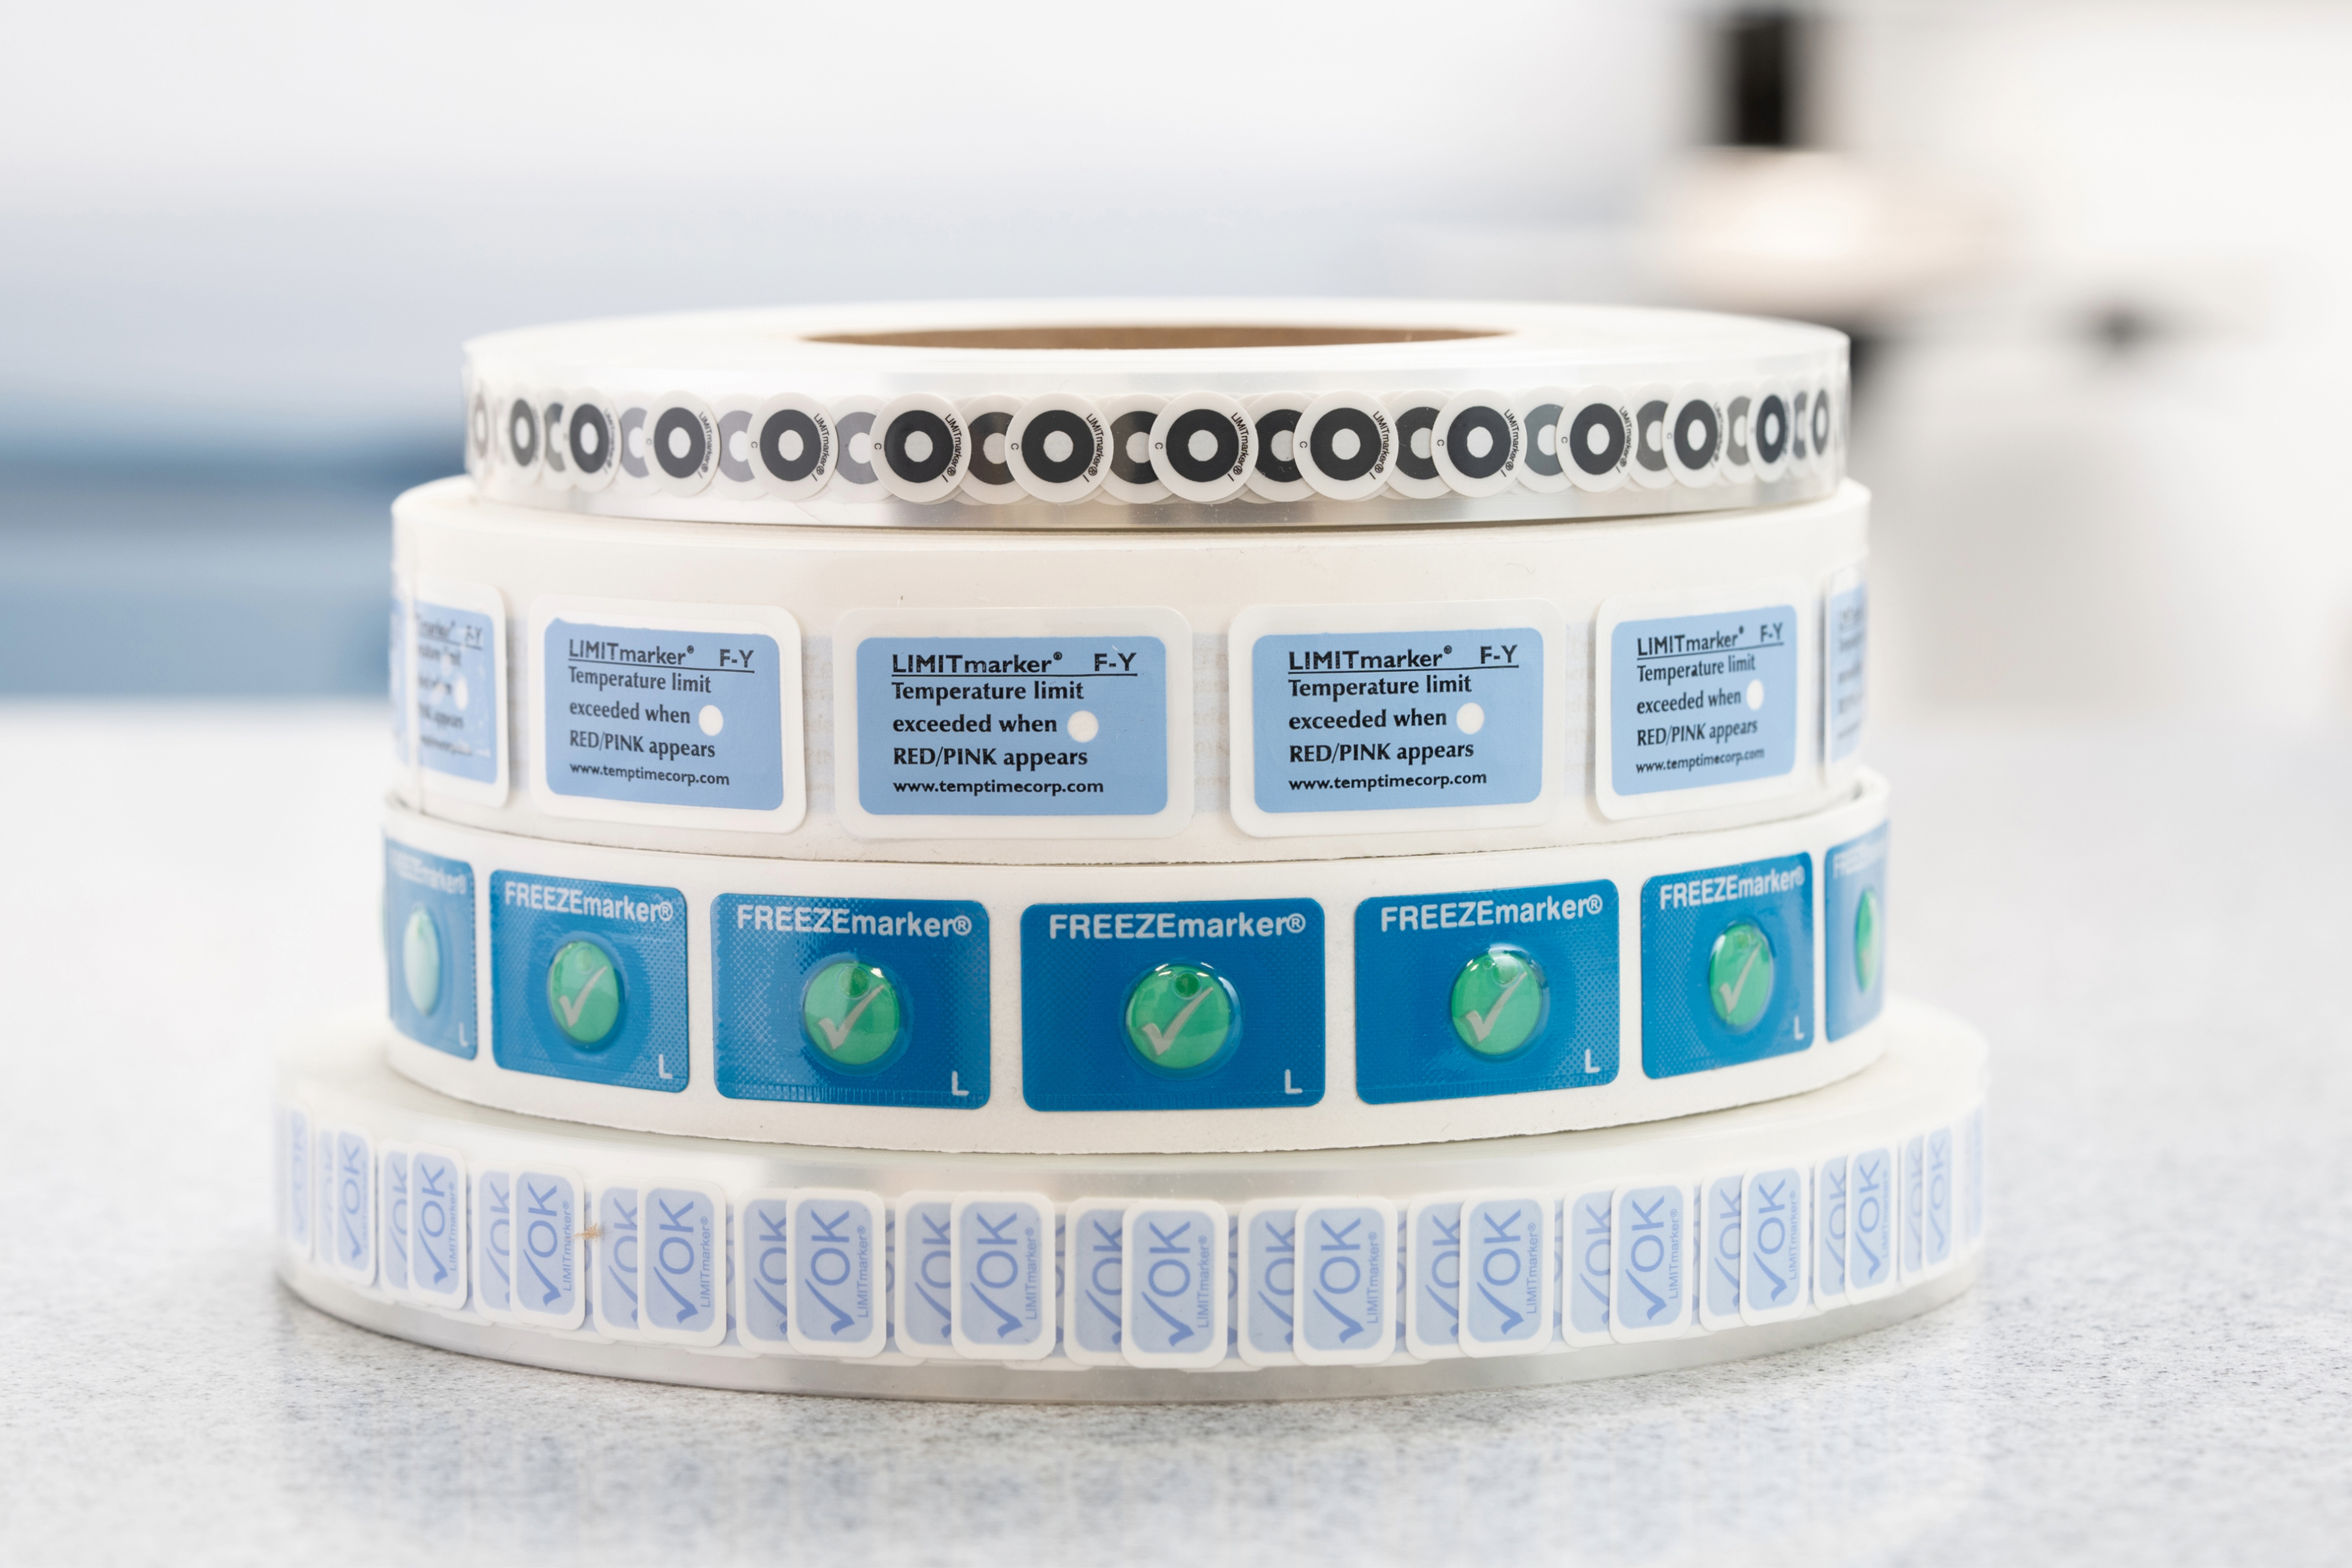
Ready-to-Use Indicators
Ready-to-Use Indicators
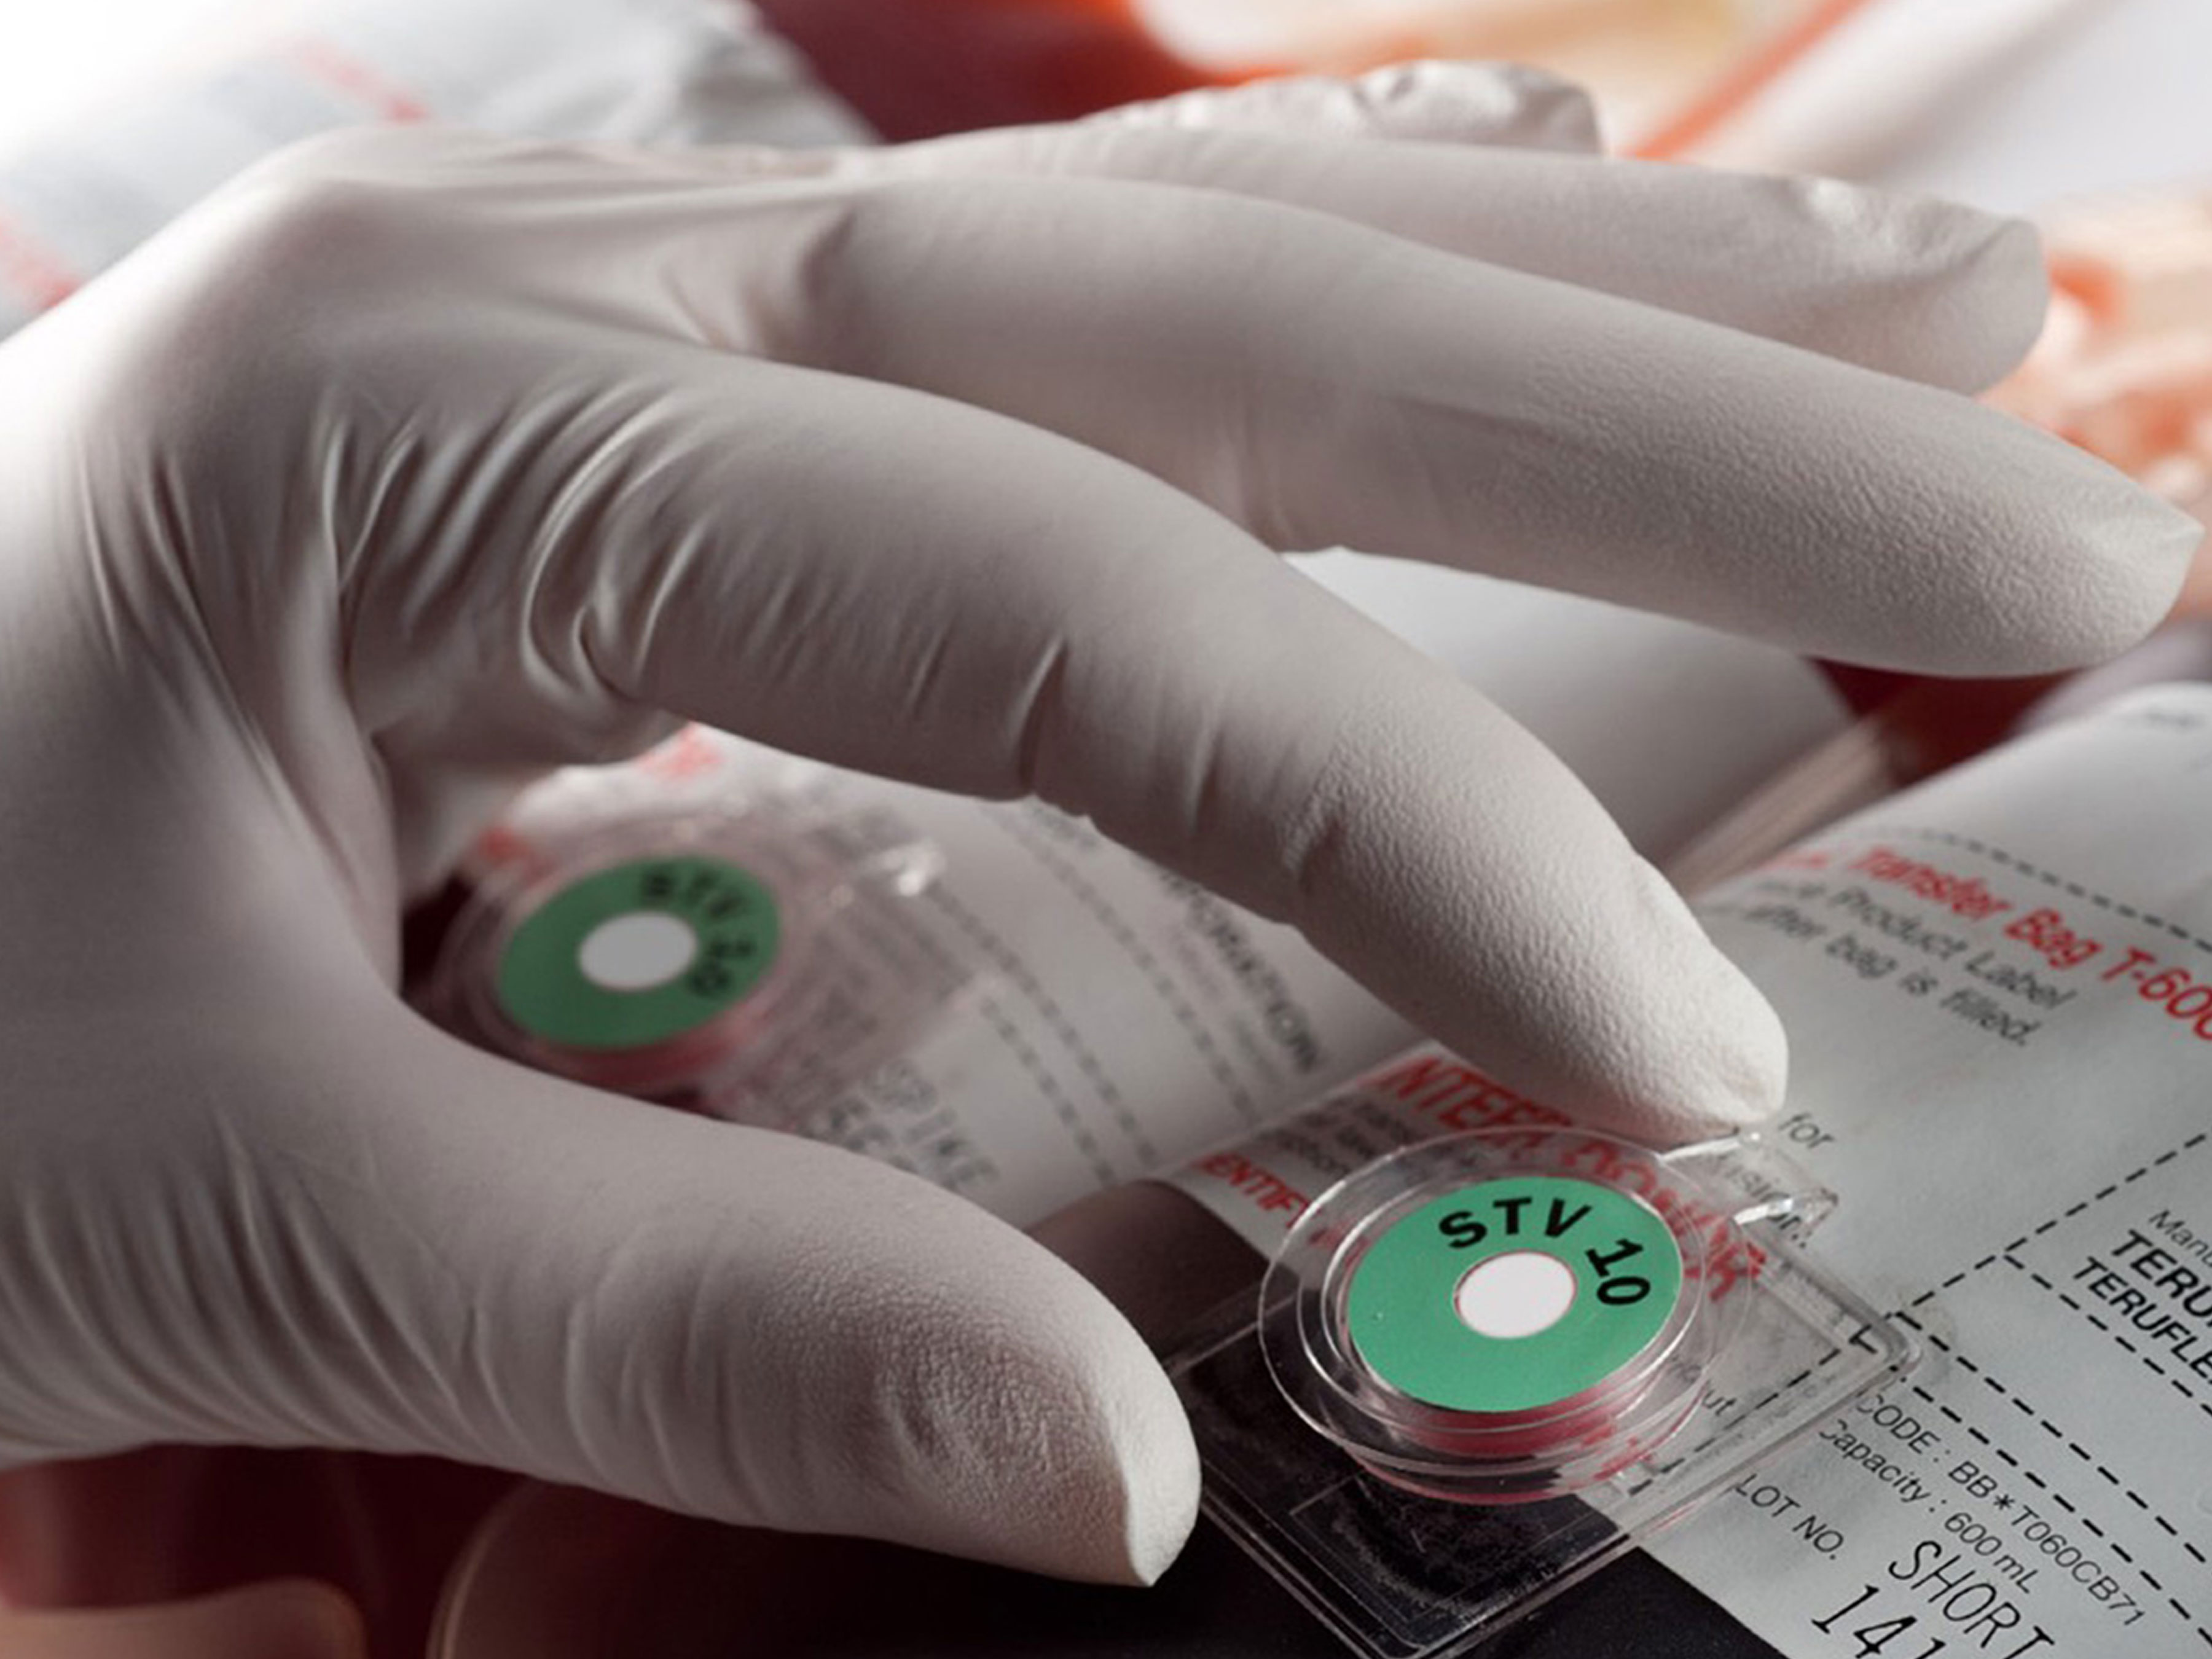
Zebra’s ready-to-use visual indicators are designed to match your product’s stability profile, storage needs and shipping conditions—delivering the critical data you need to reduce waste, protect quality and support compliance.
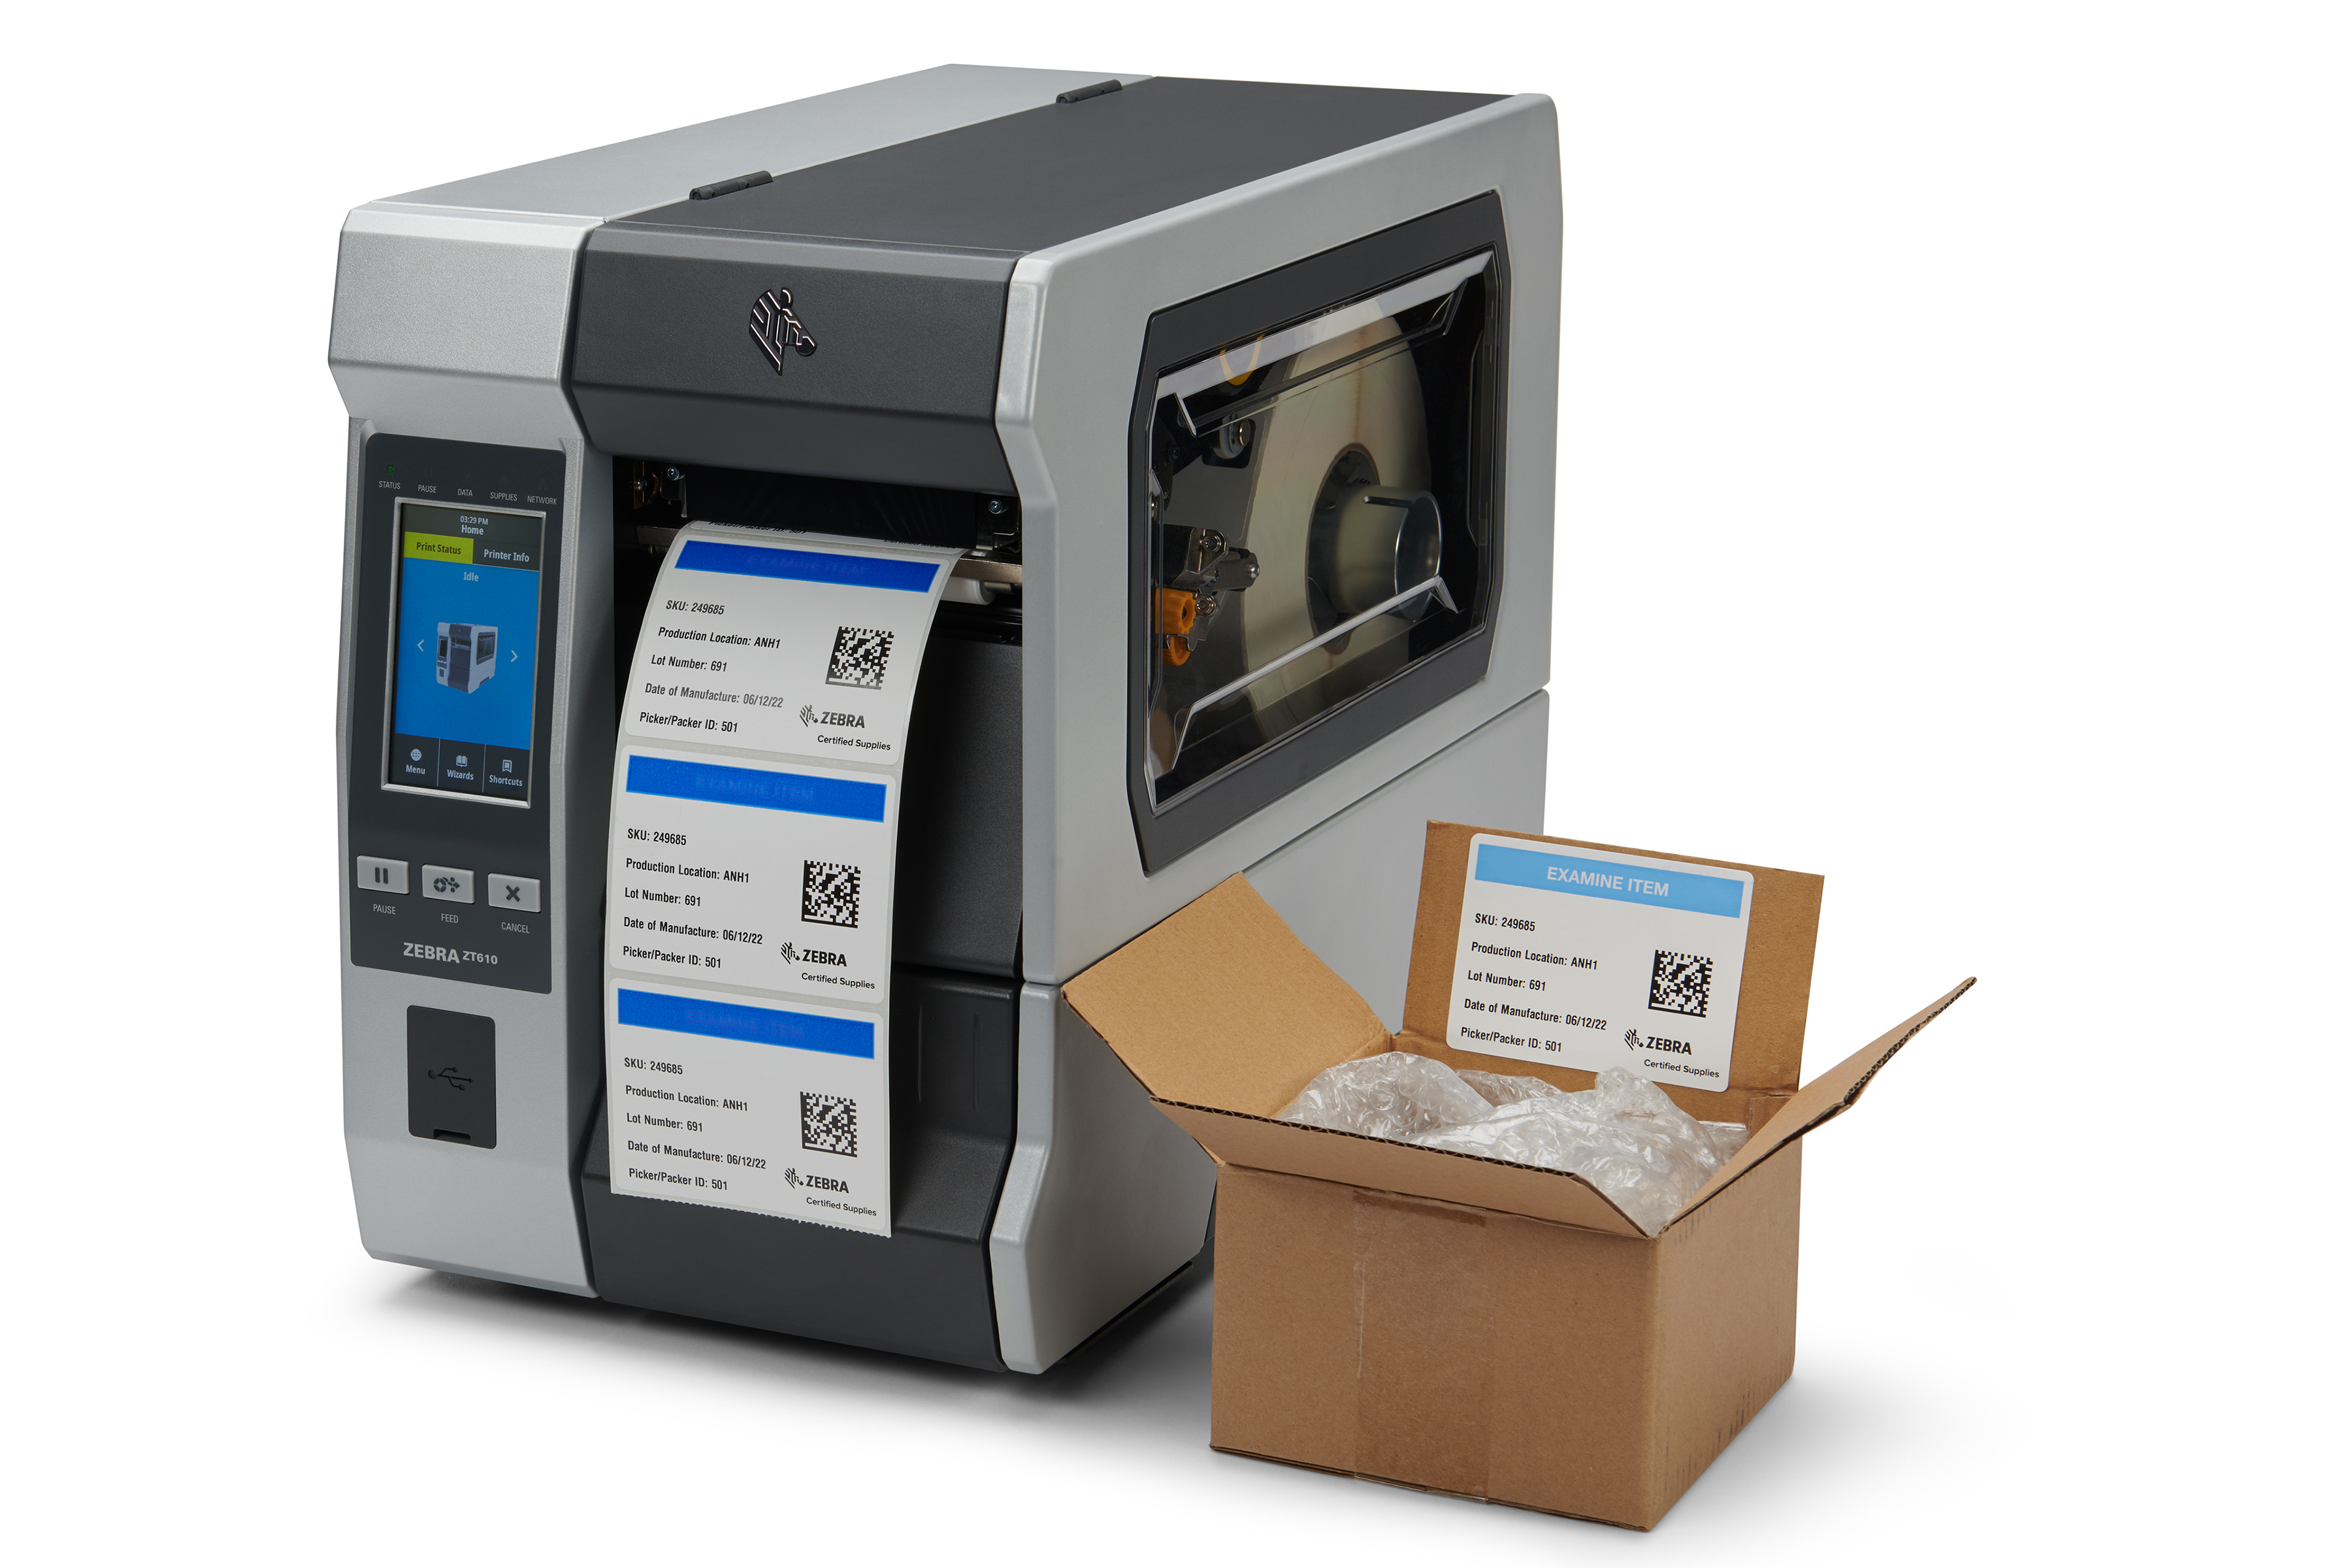
Printable Indicators
Printable Indicators
Zebra’s ZeOn-Demand printable indicators combine sensing, barcodes and printed text into a single thermal label—streamlining tracking and enhancing visibility across your cold chain.
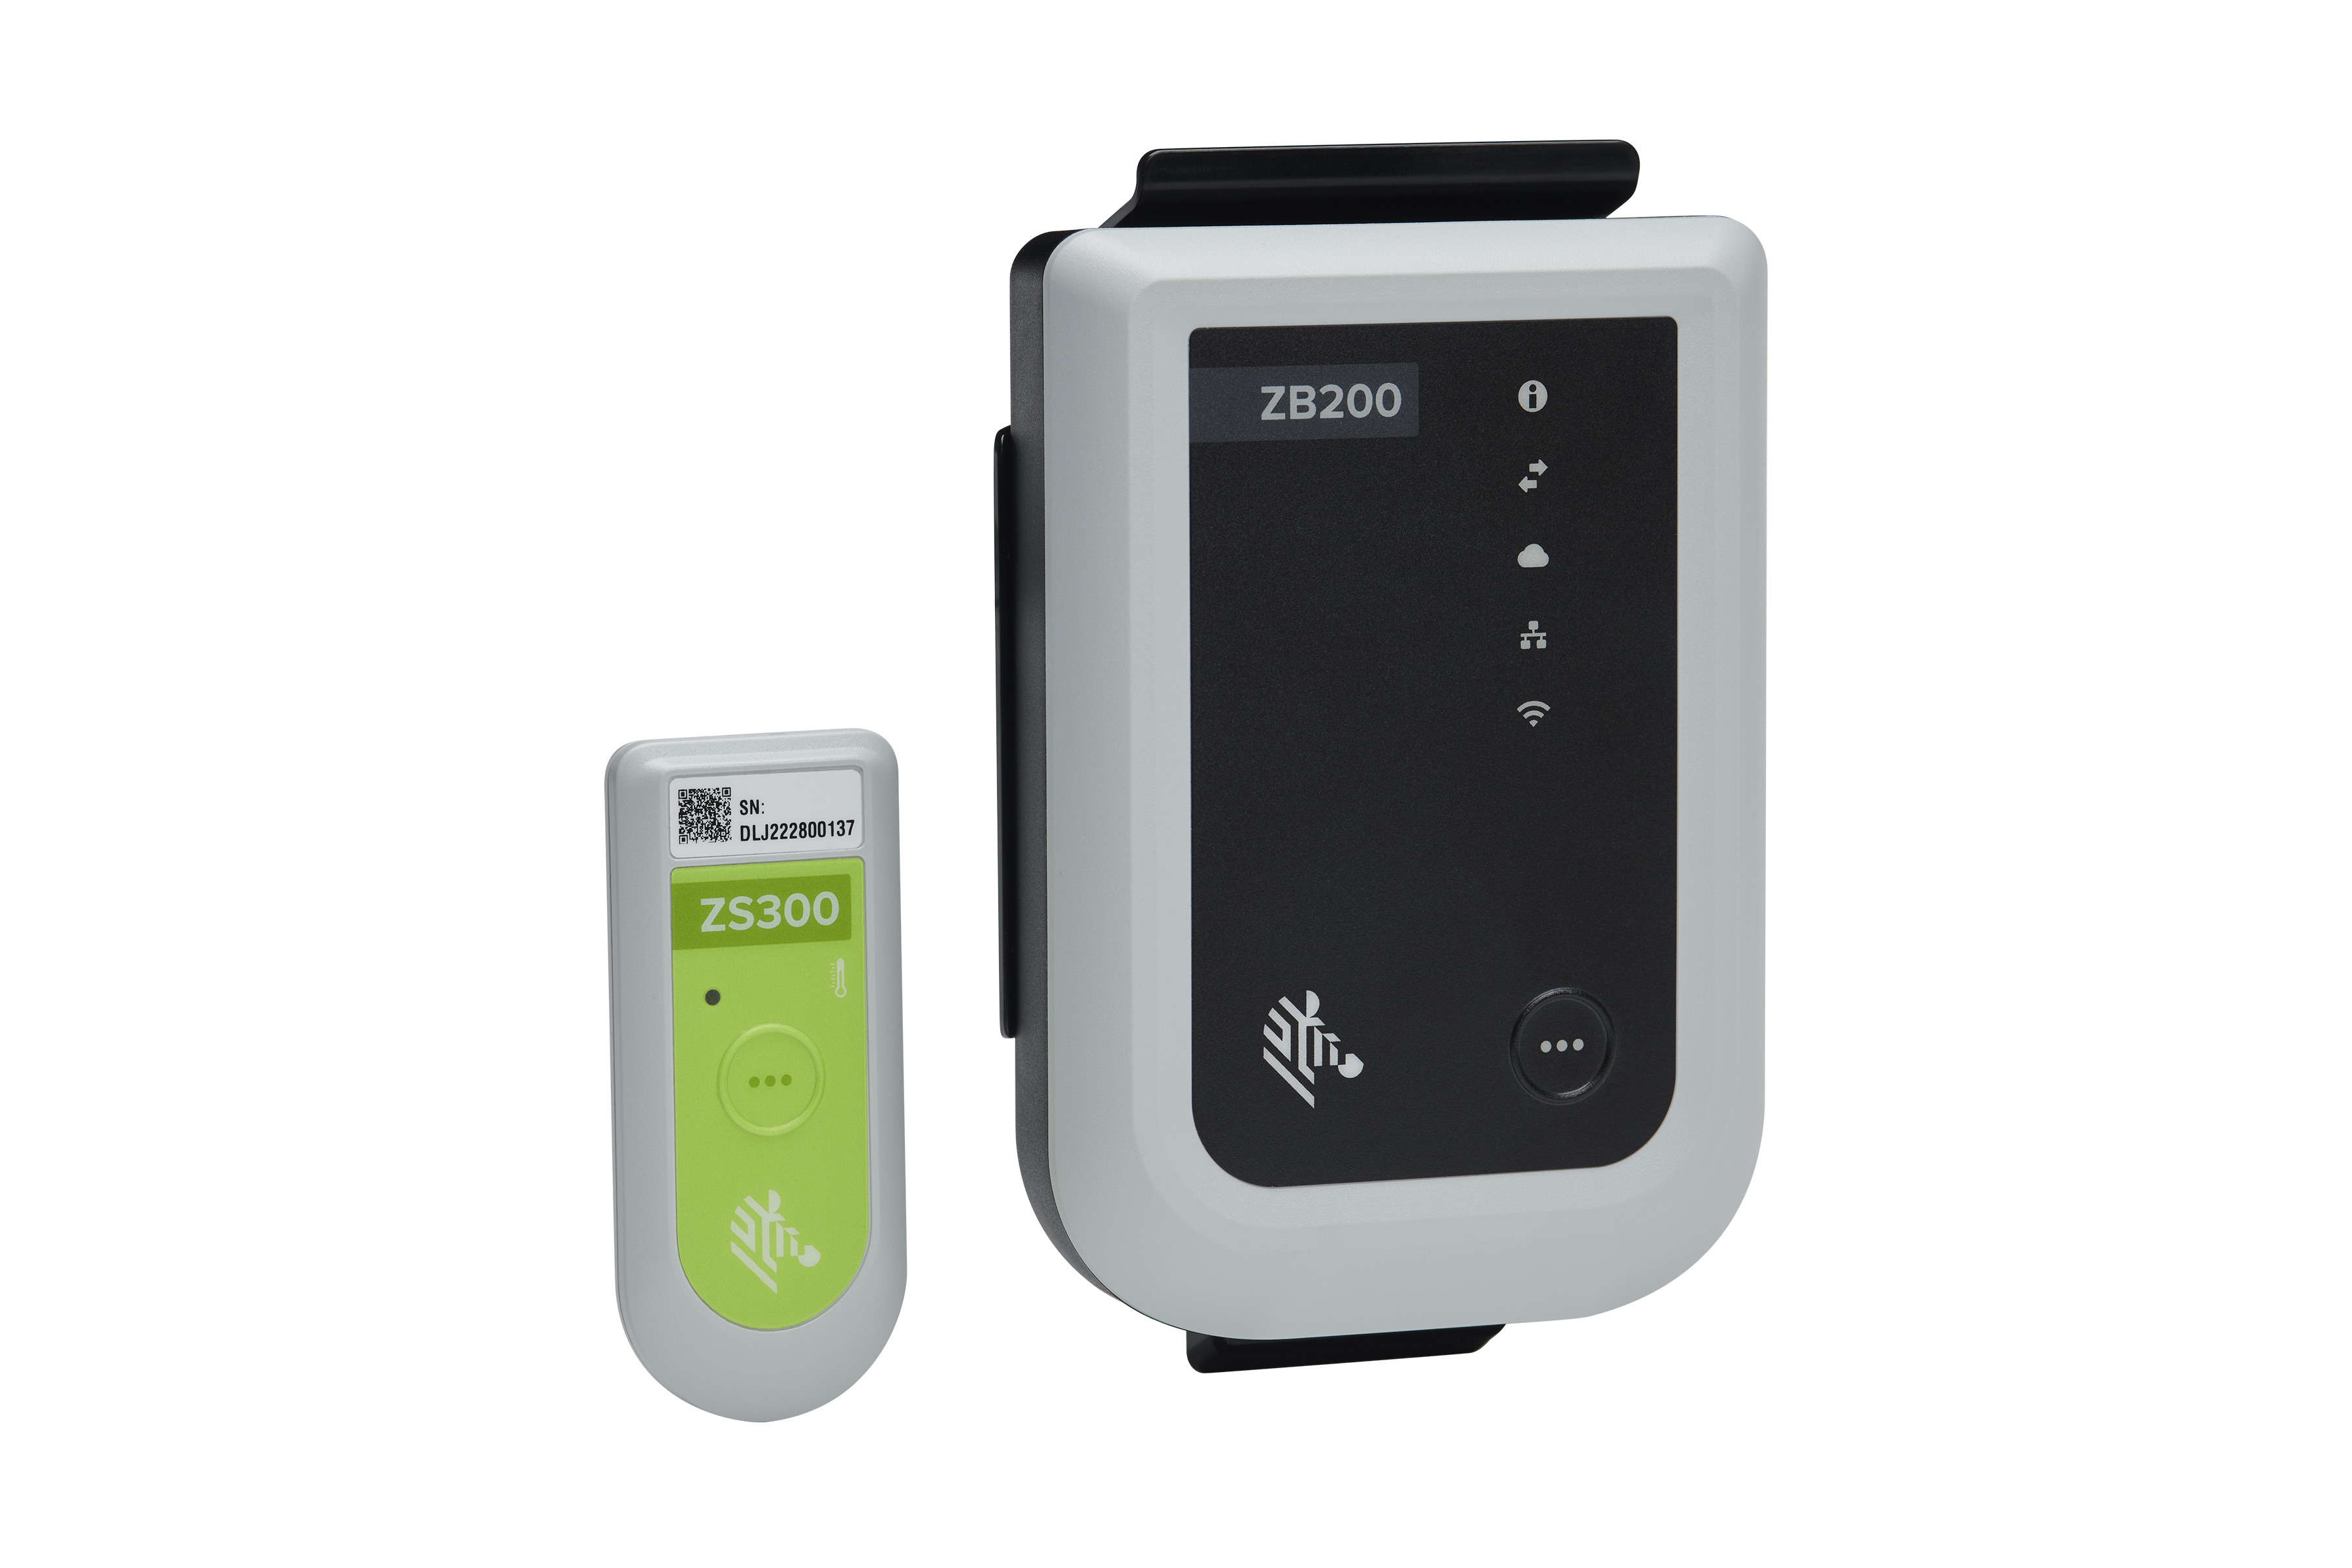
Electronic Sensors
Electronic Sensors
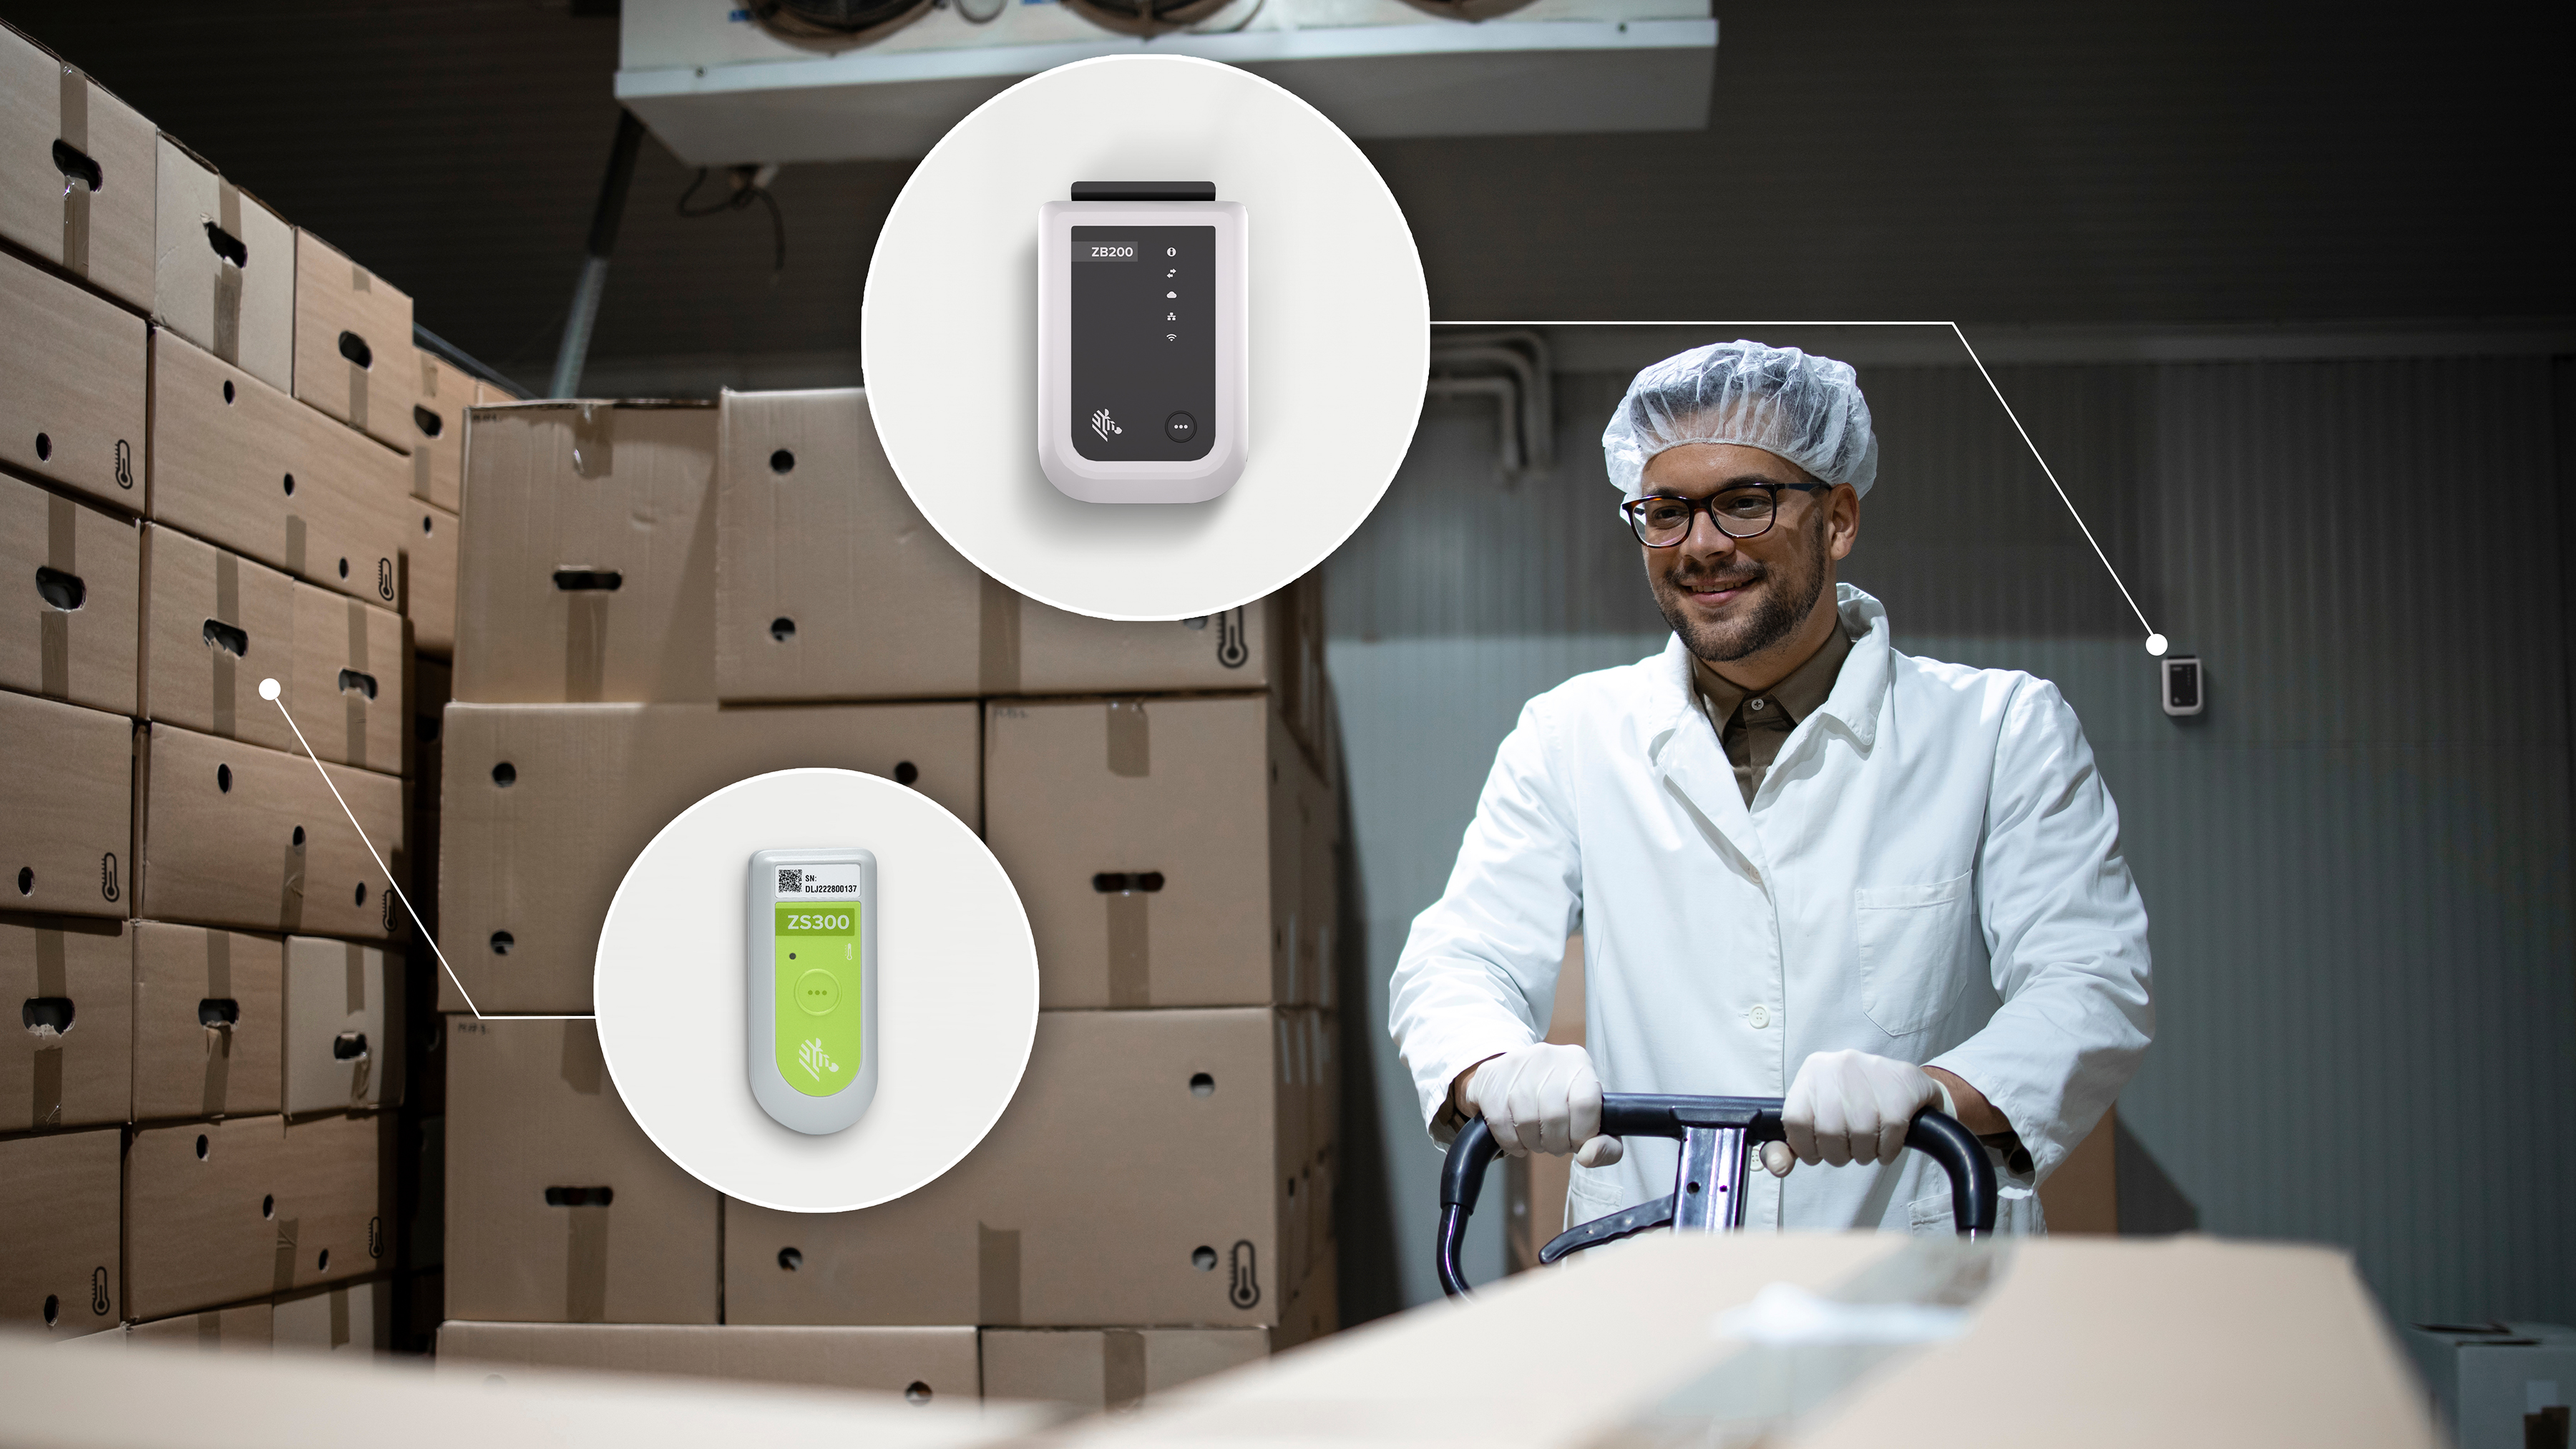
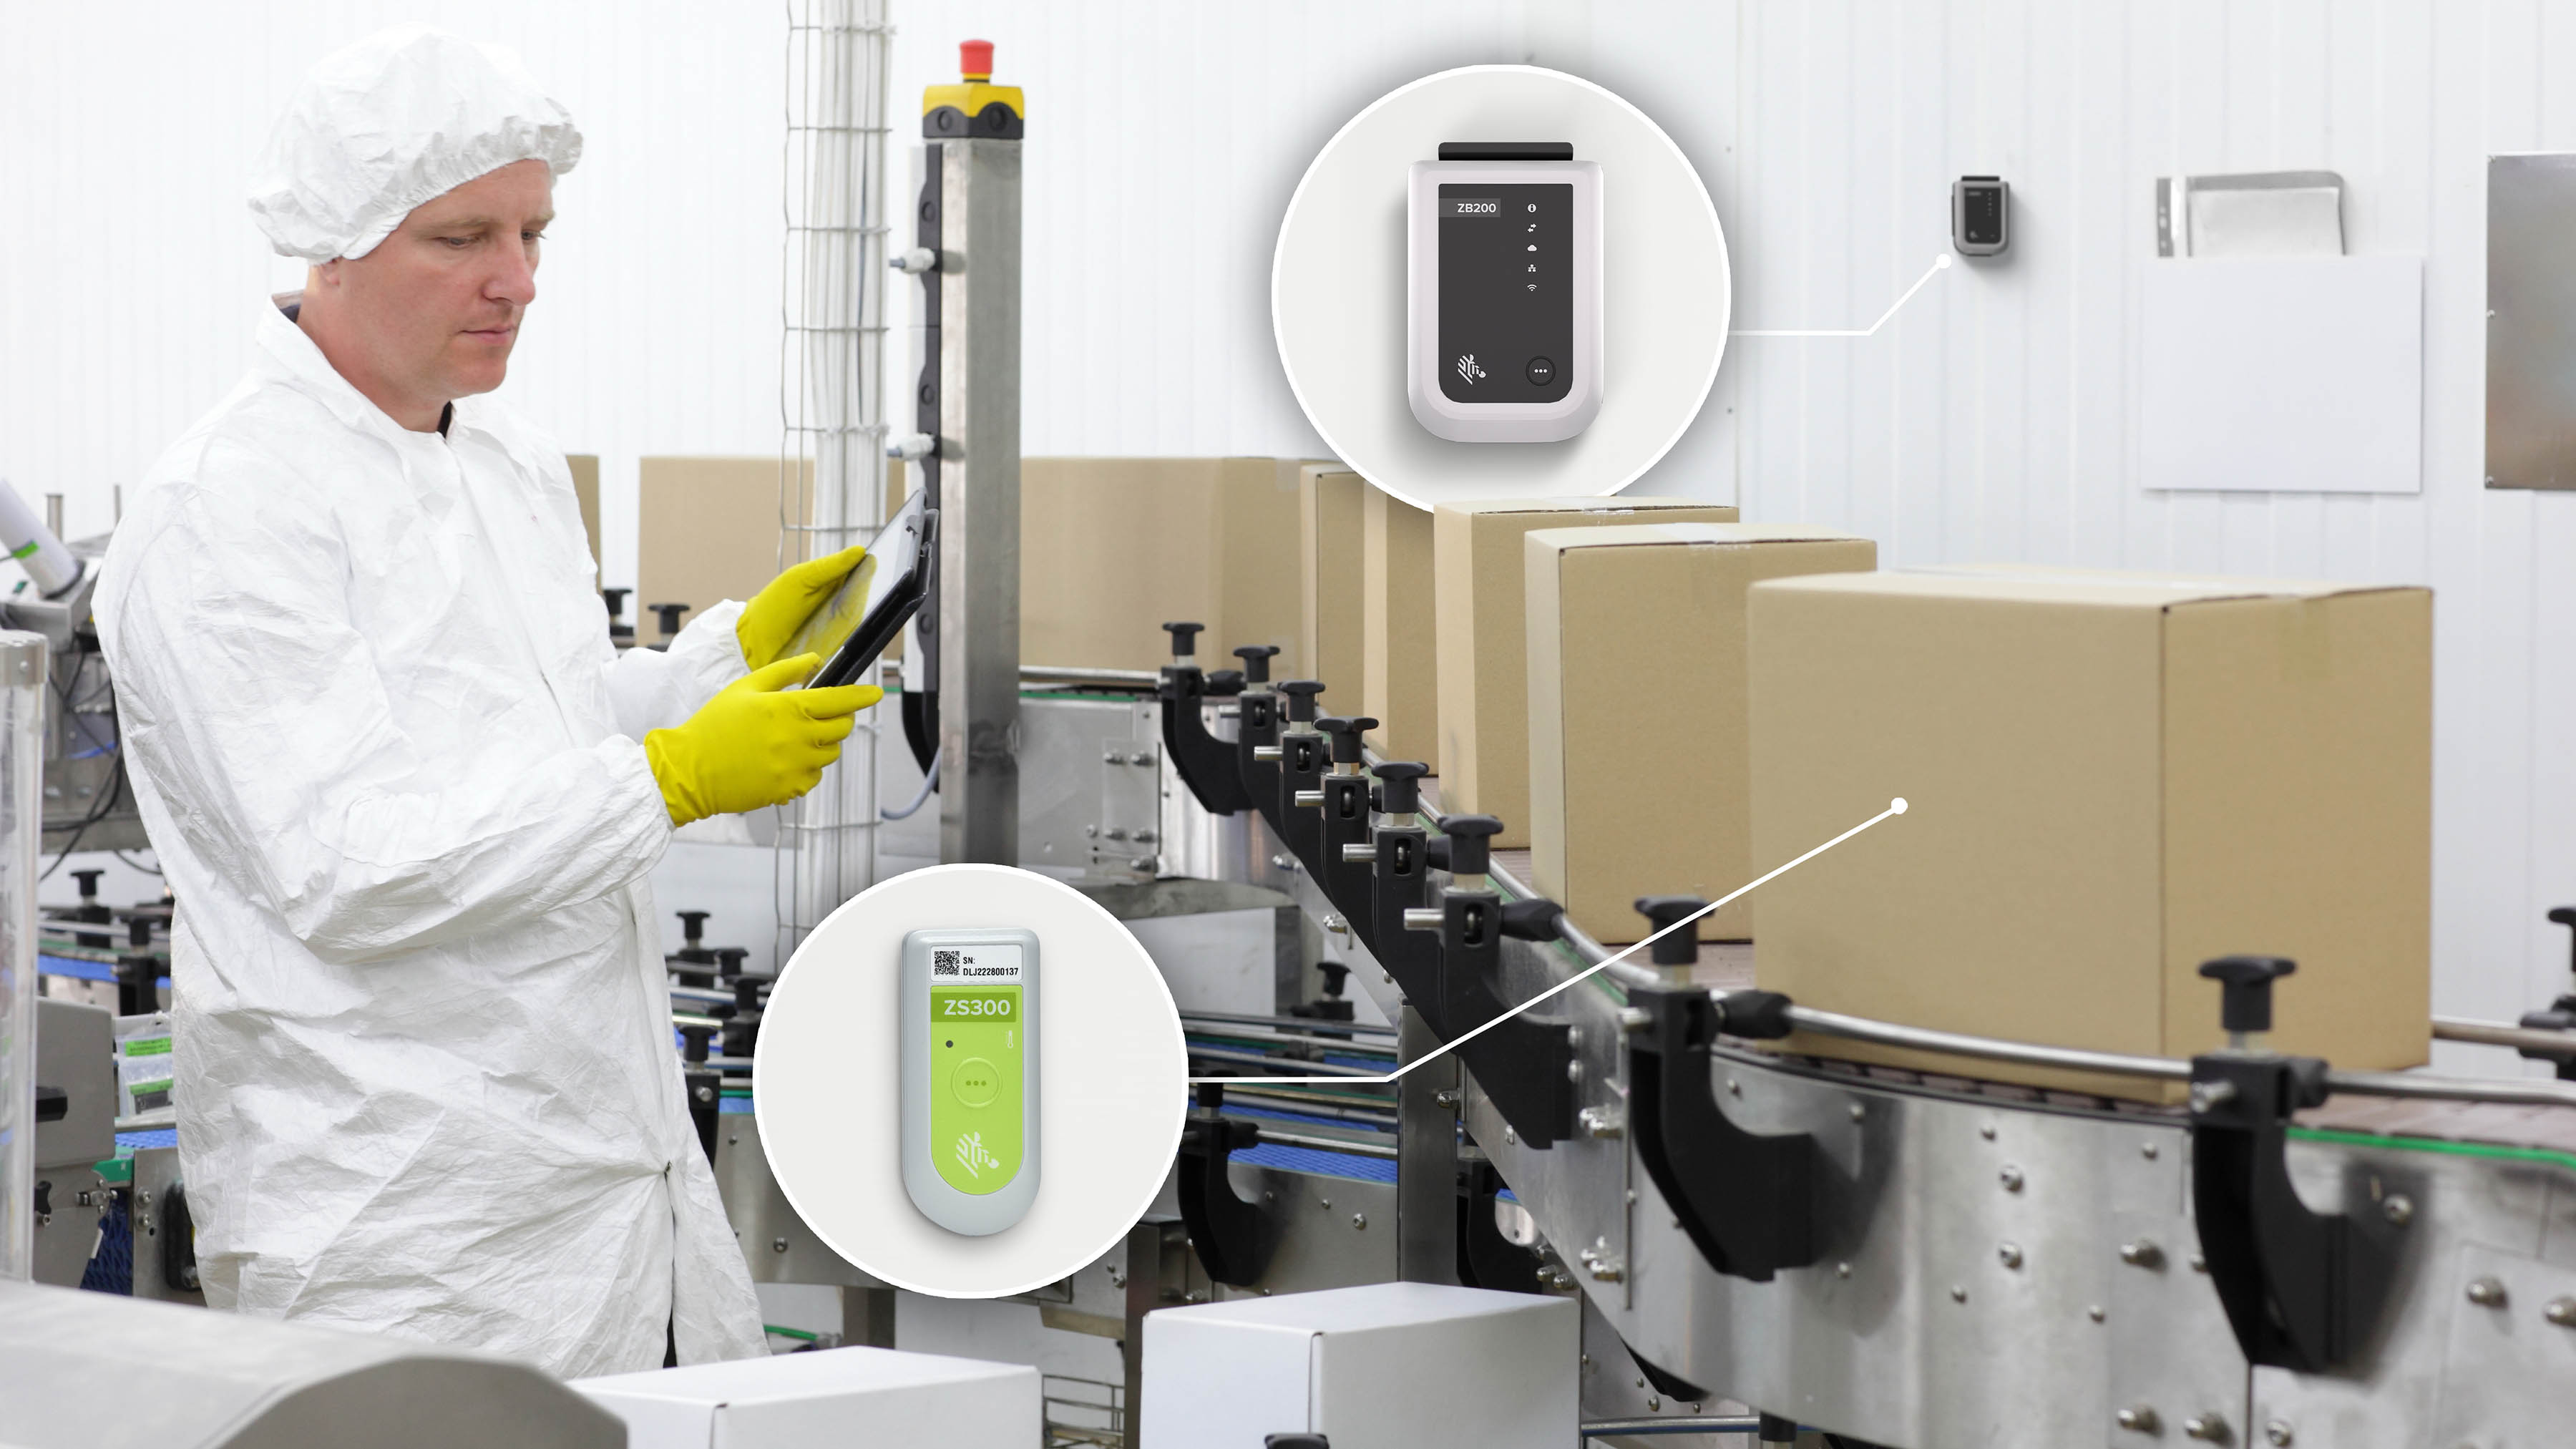
Help protect quality, reduce waste and support compliance with Zebra’s Bluetooth-enabled electronic sensors. Wirelessly capture accurate environmental data across shipping, receiving and storage to drive smarter decisions and improve cold chain efficiency.
PPQ Testing
PPQ Testing
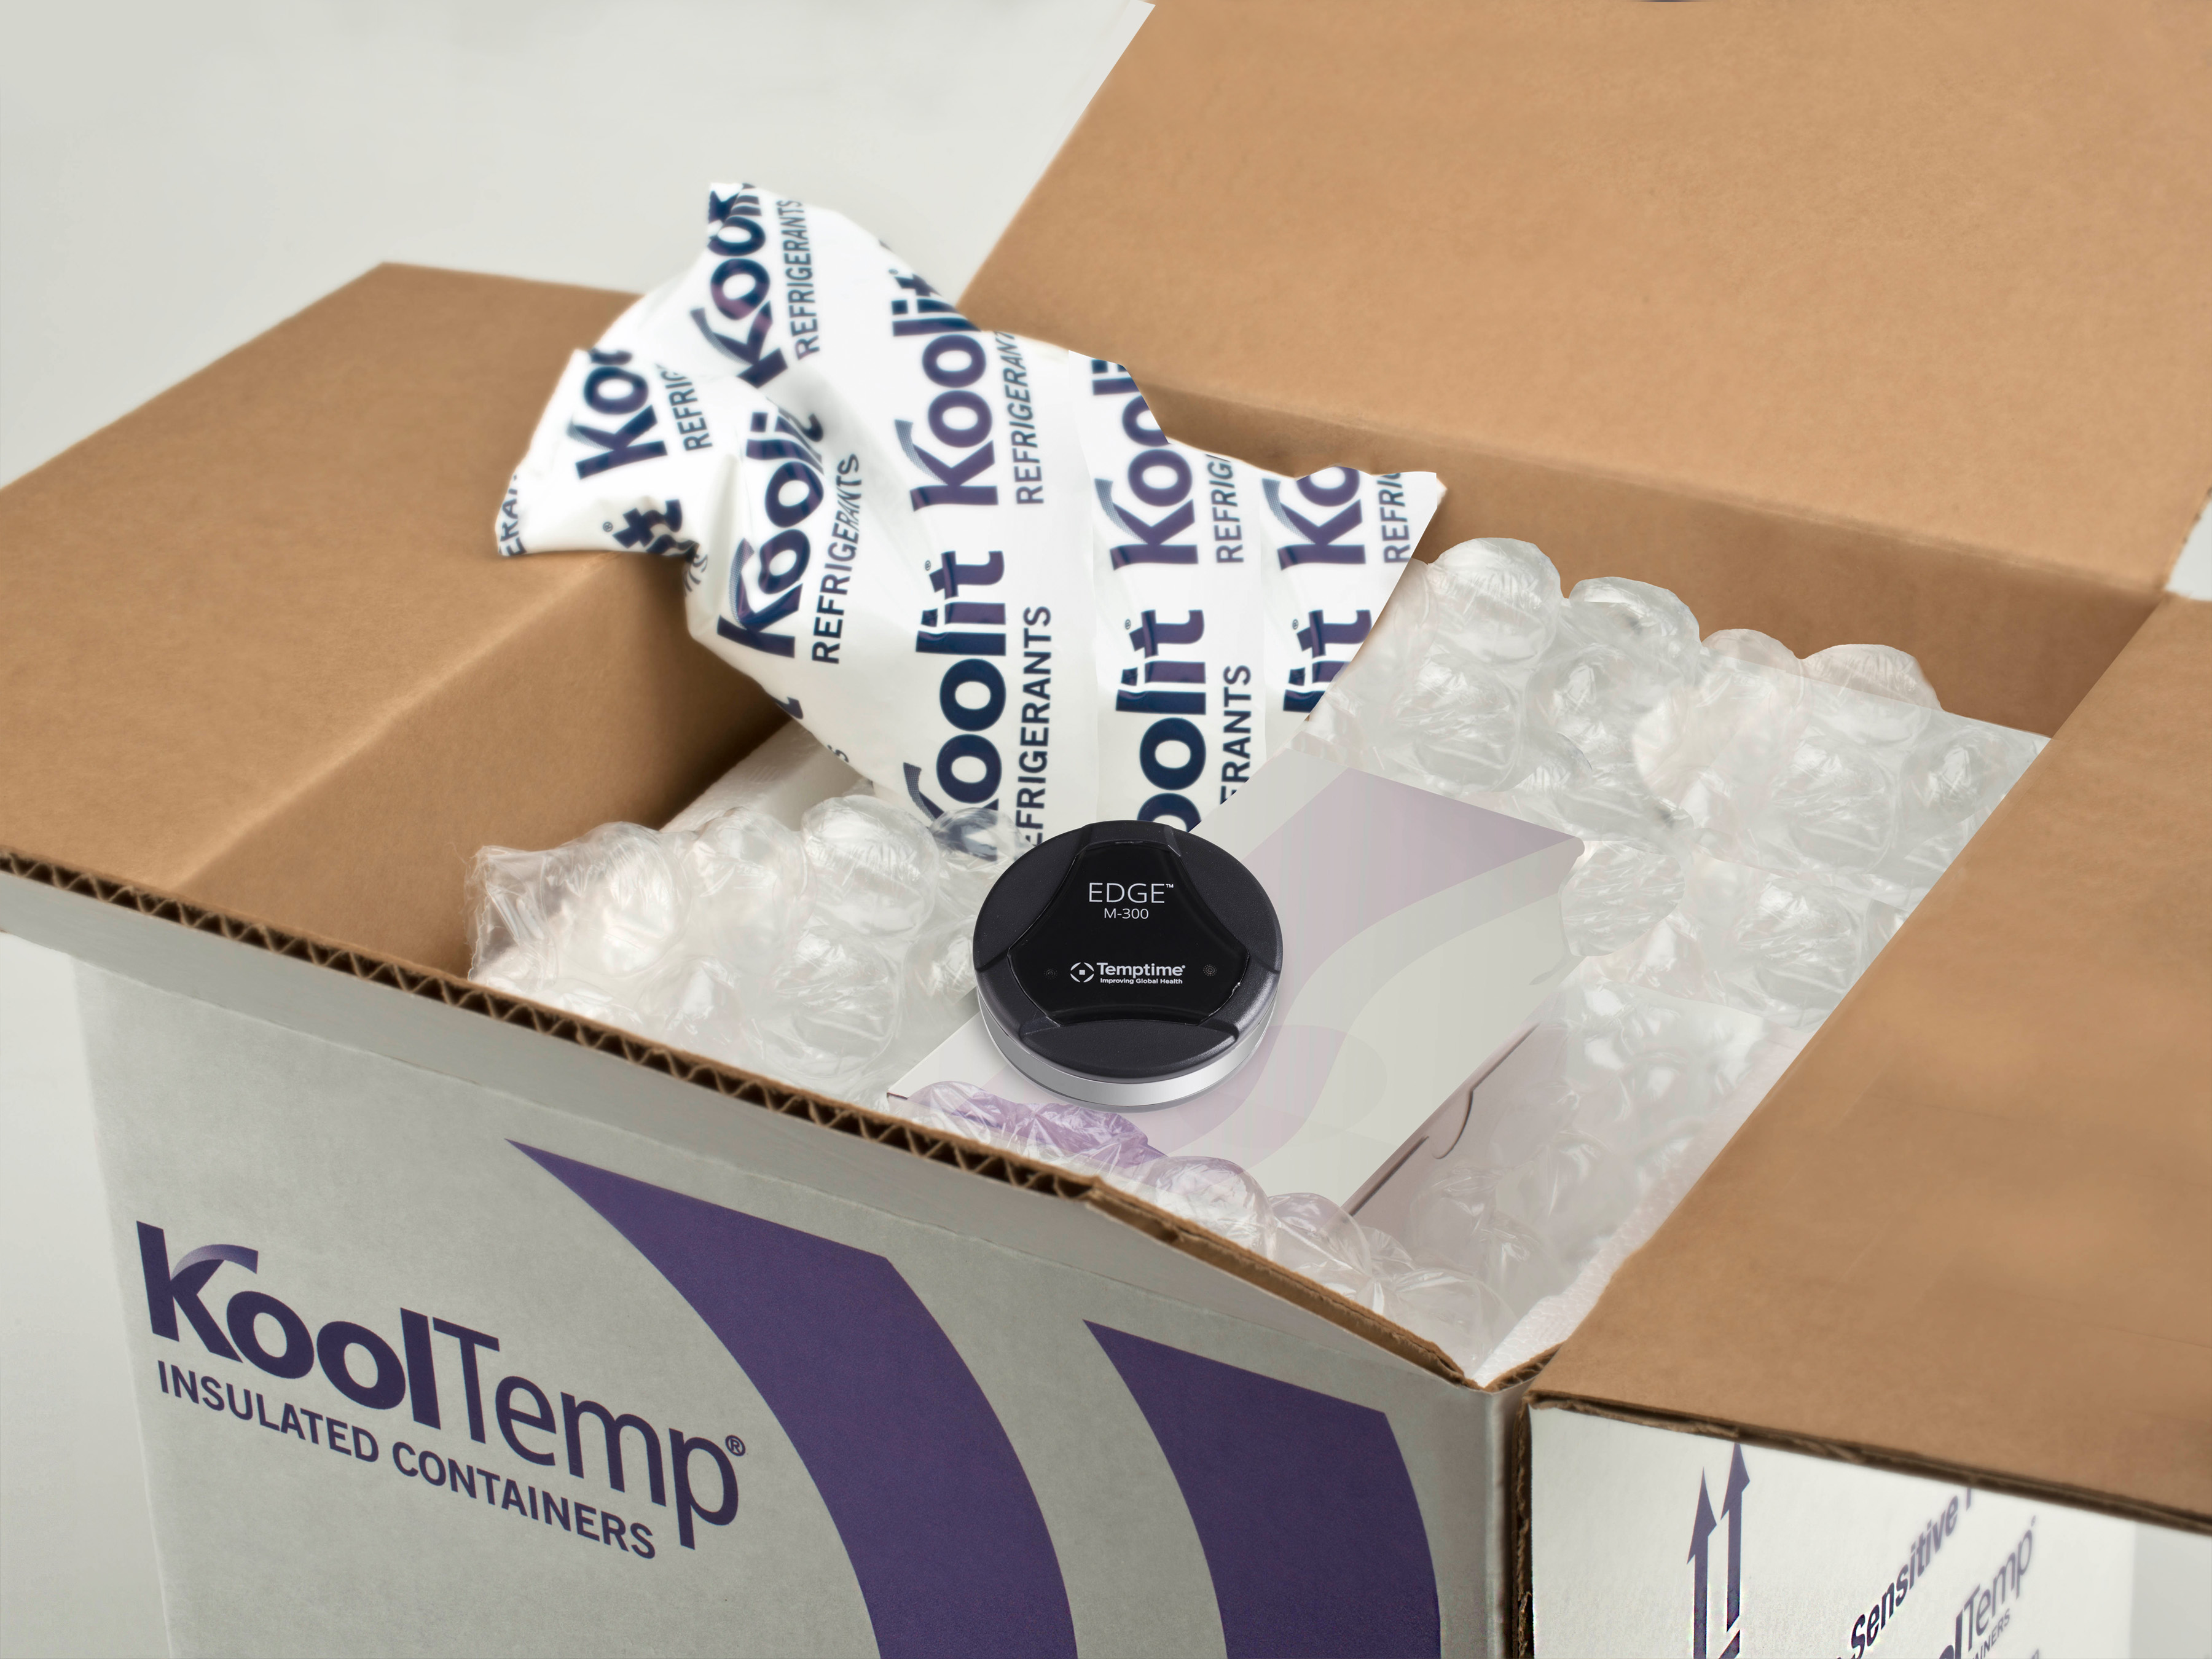
Ensure your packouts meet SOPs and seasonal demands under real-world conditions. Gain actionable insights, meet accreditation requirements and support pharmacy network participation with confidence.
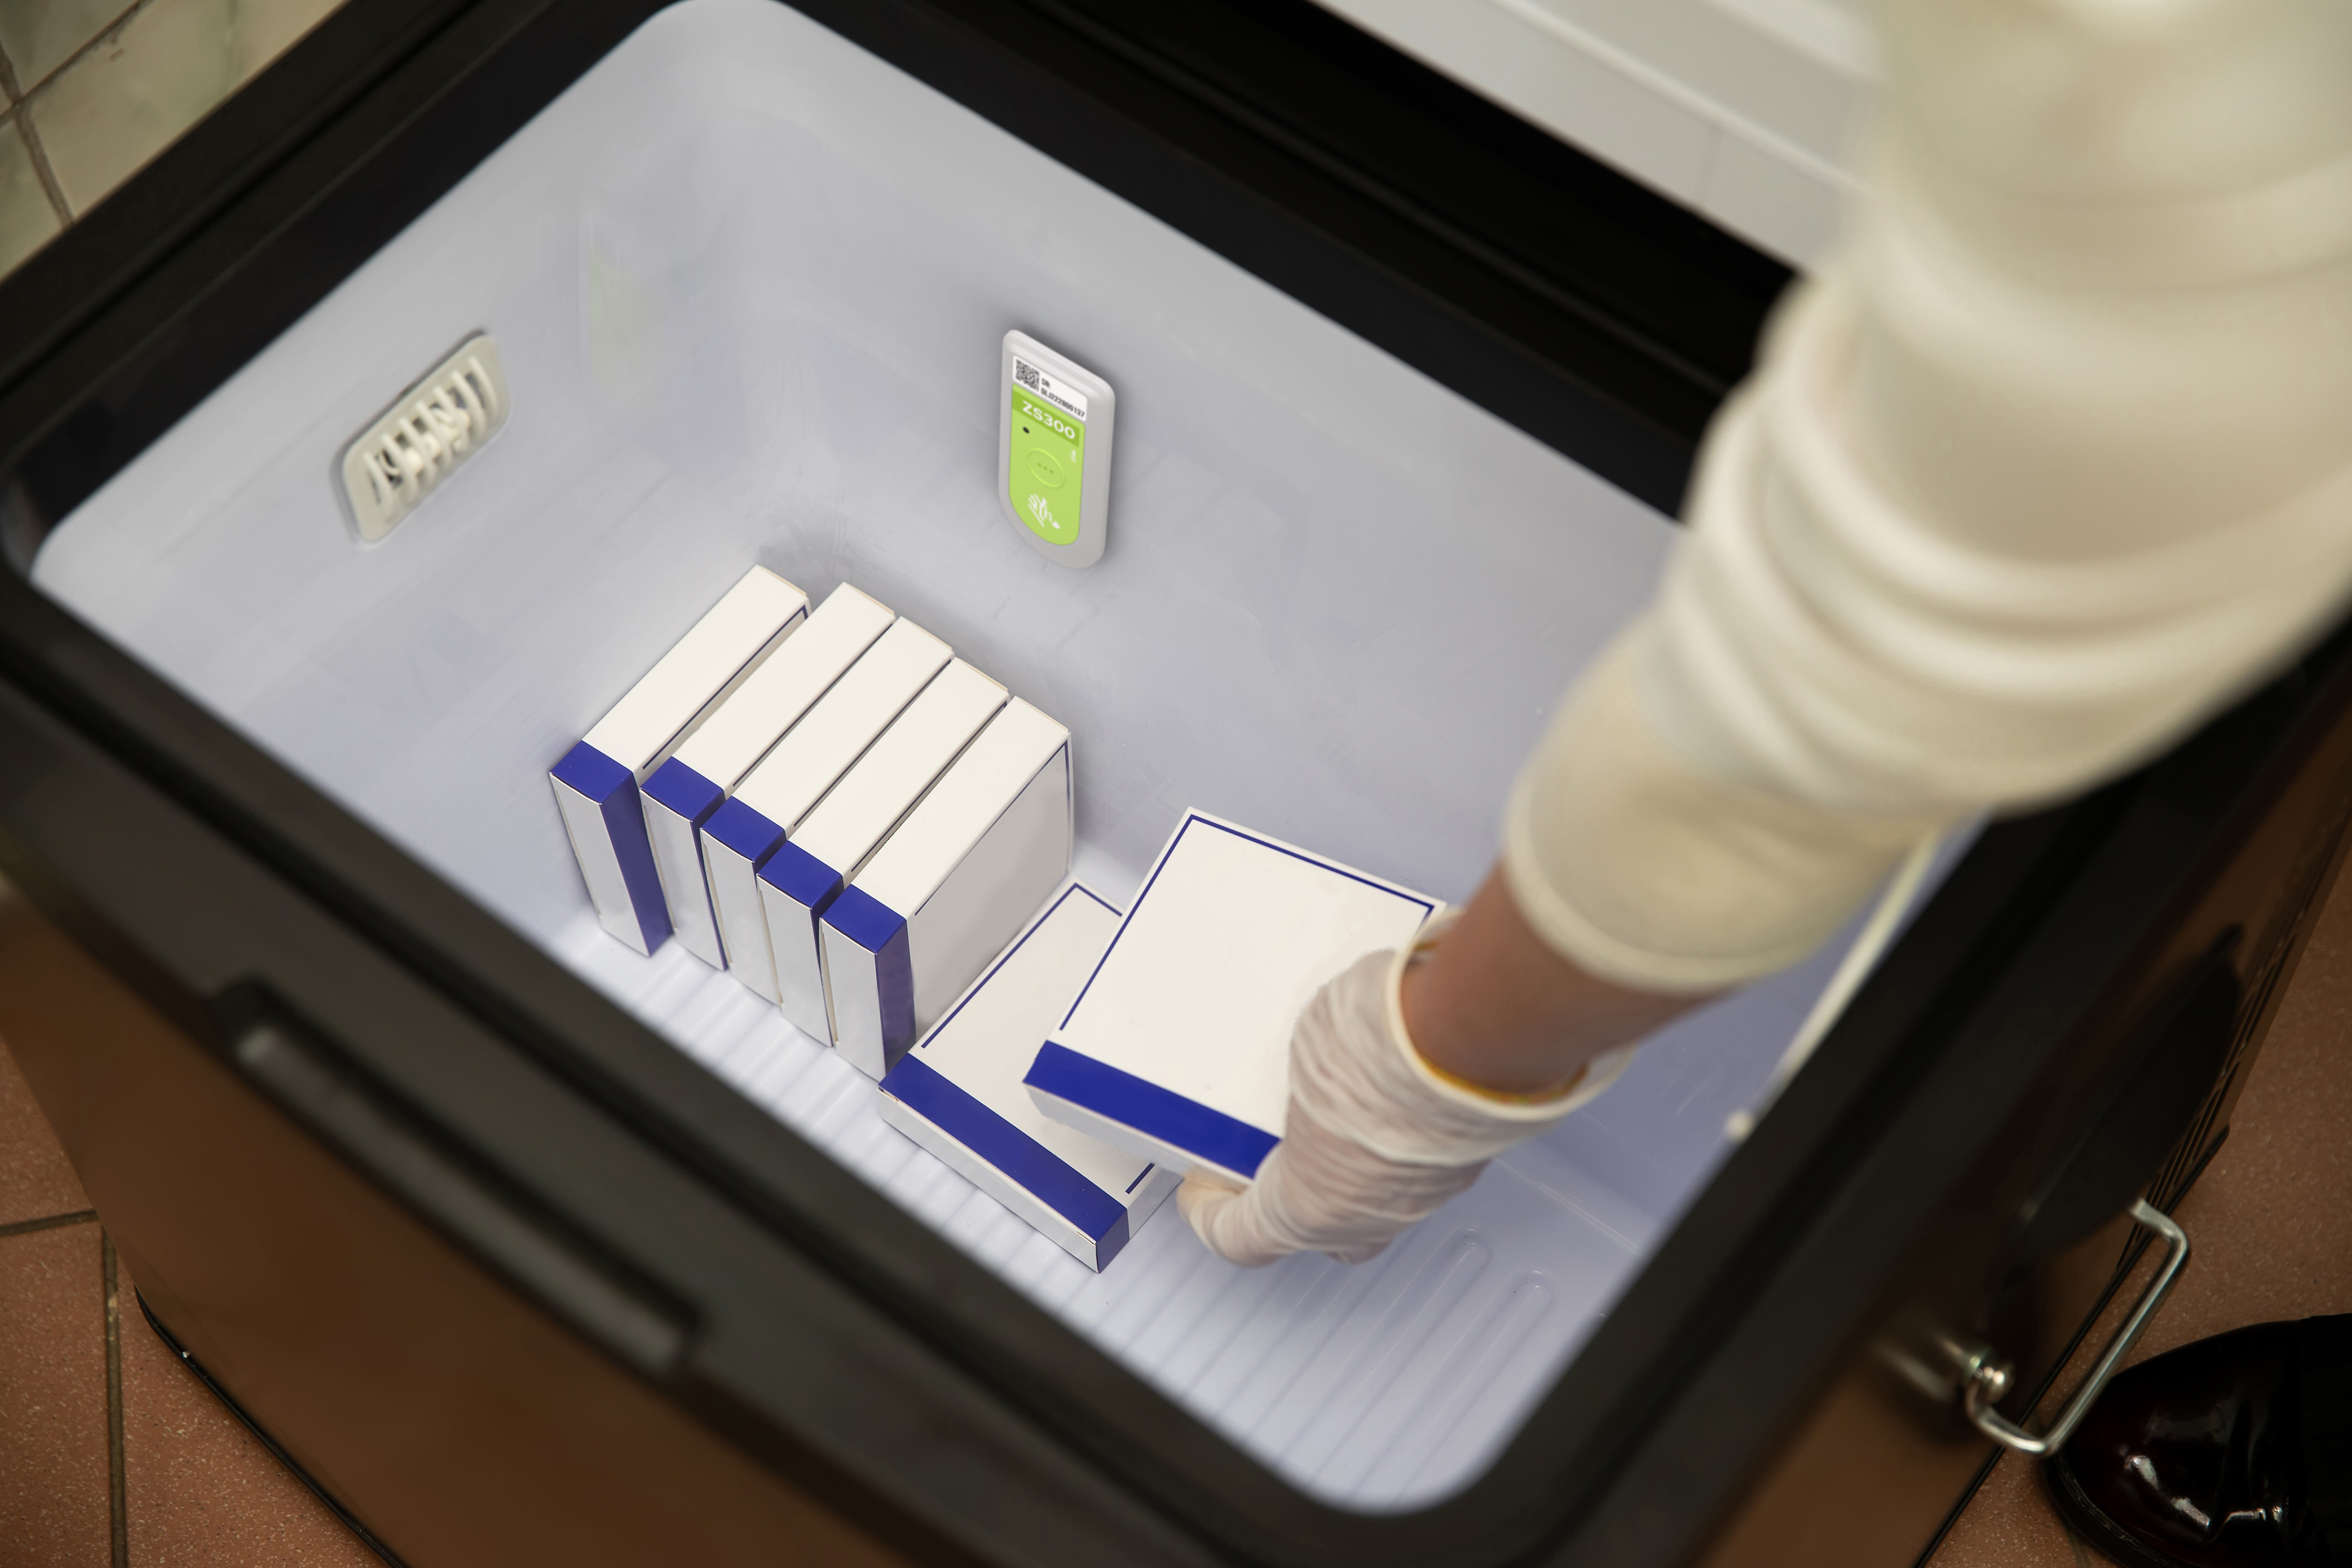
Customer Success Stories
The Latest on Zebra Environmental Sensors

Pharmaceutical Temperature Monitoring
Discover how Zebra’s temperature monitoring solutions help pharmaceutical companies reduce waste, improve compliance and gain visibility across storage and distribution. Learn how to protect product quality at every stage of the cold chain.
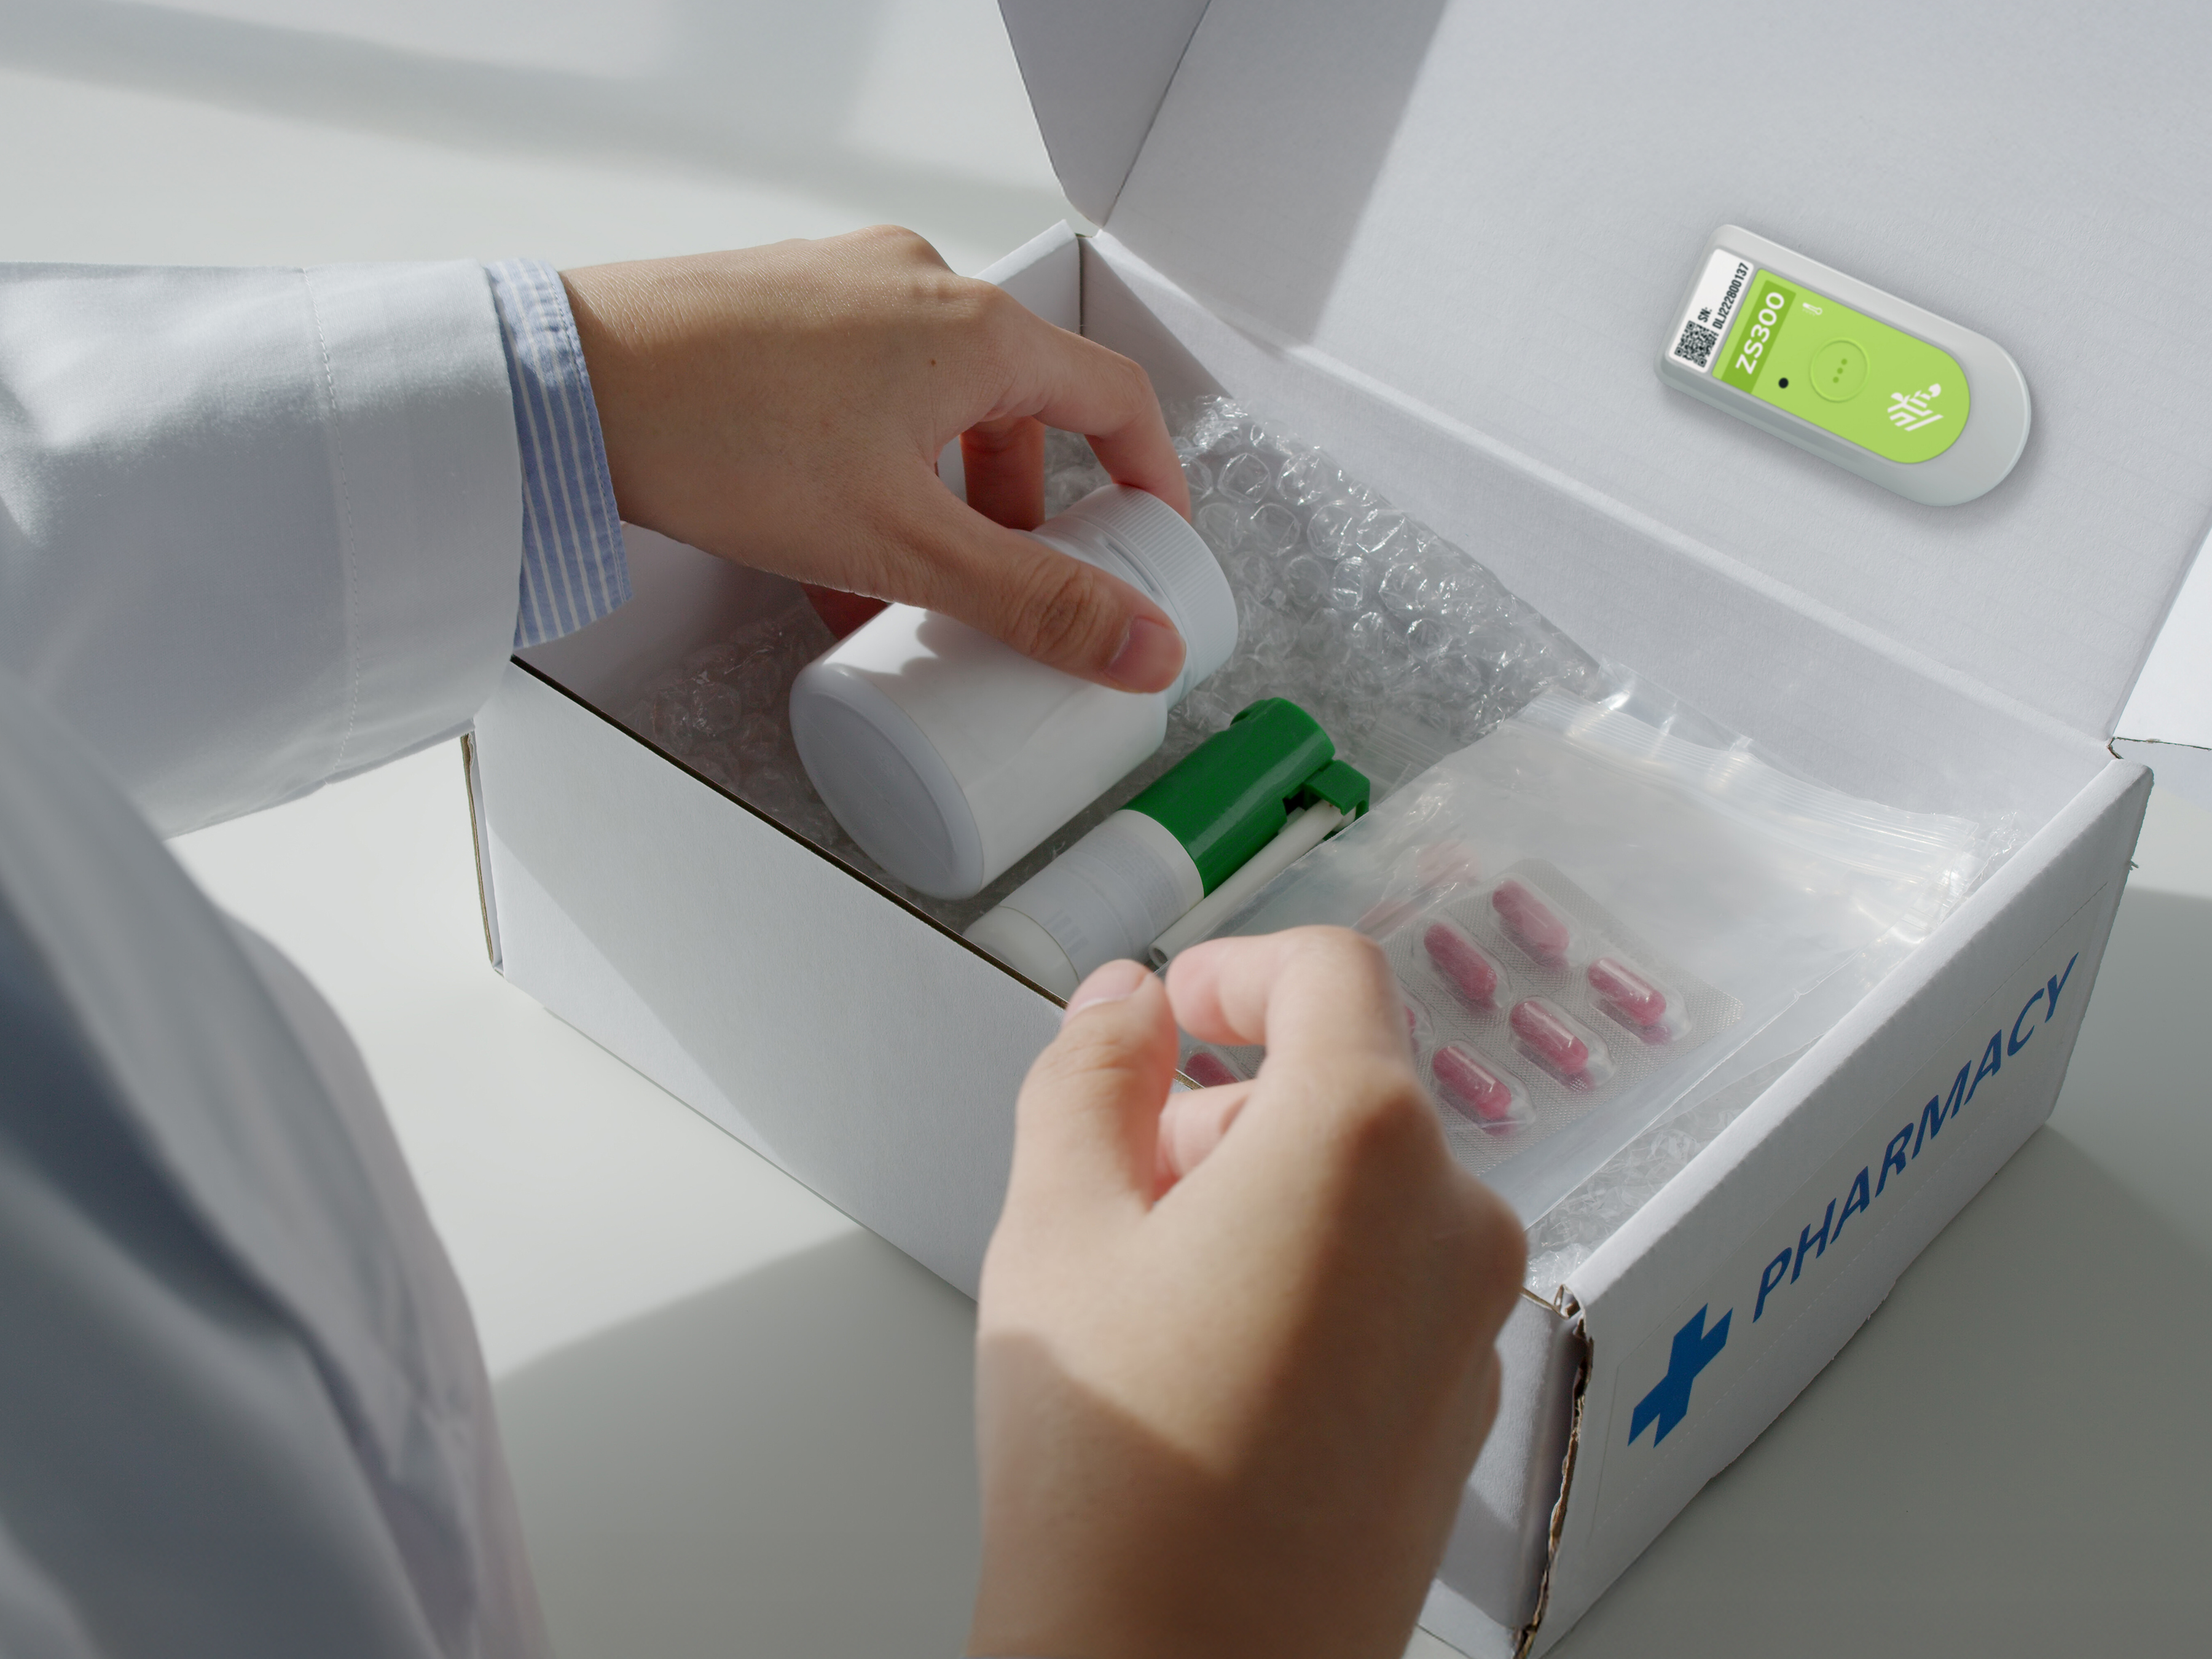
Reimagine Cold Chain Operations
Explore how Zebra’s temperature sensing solutions help food and pharma businesses reduce waste, support compliance and maintain product quality. Learn how real-time visibility enables smarter decisions from production to delivery.
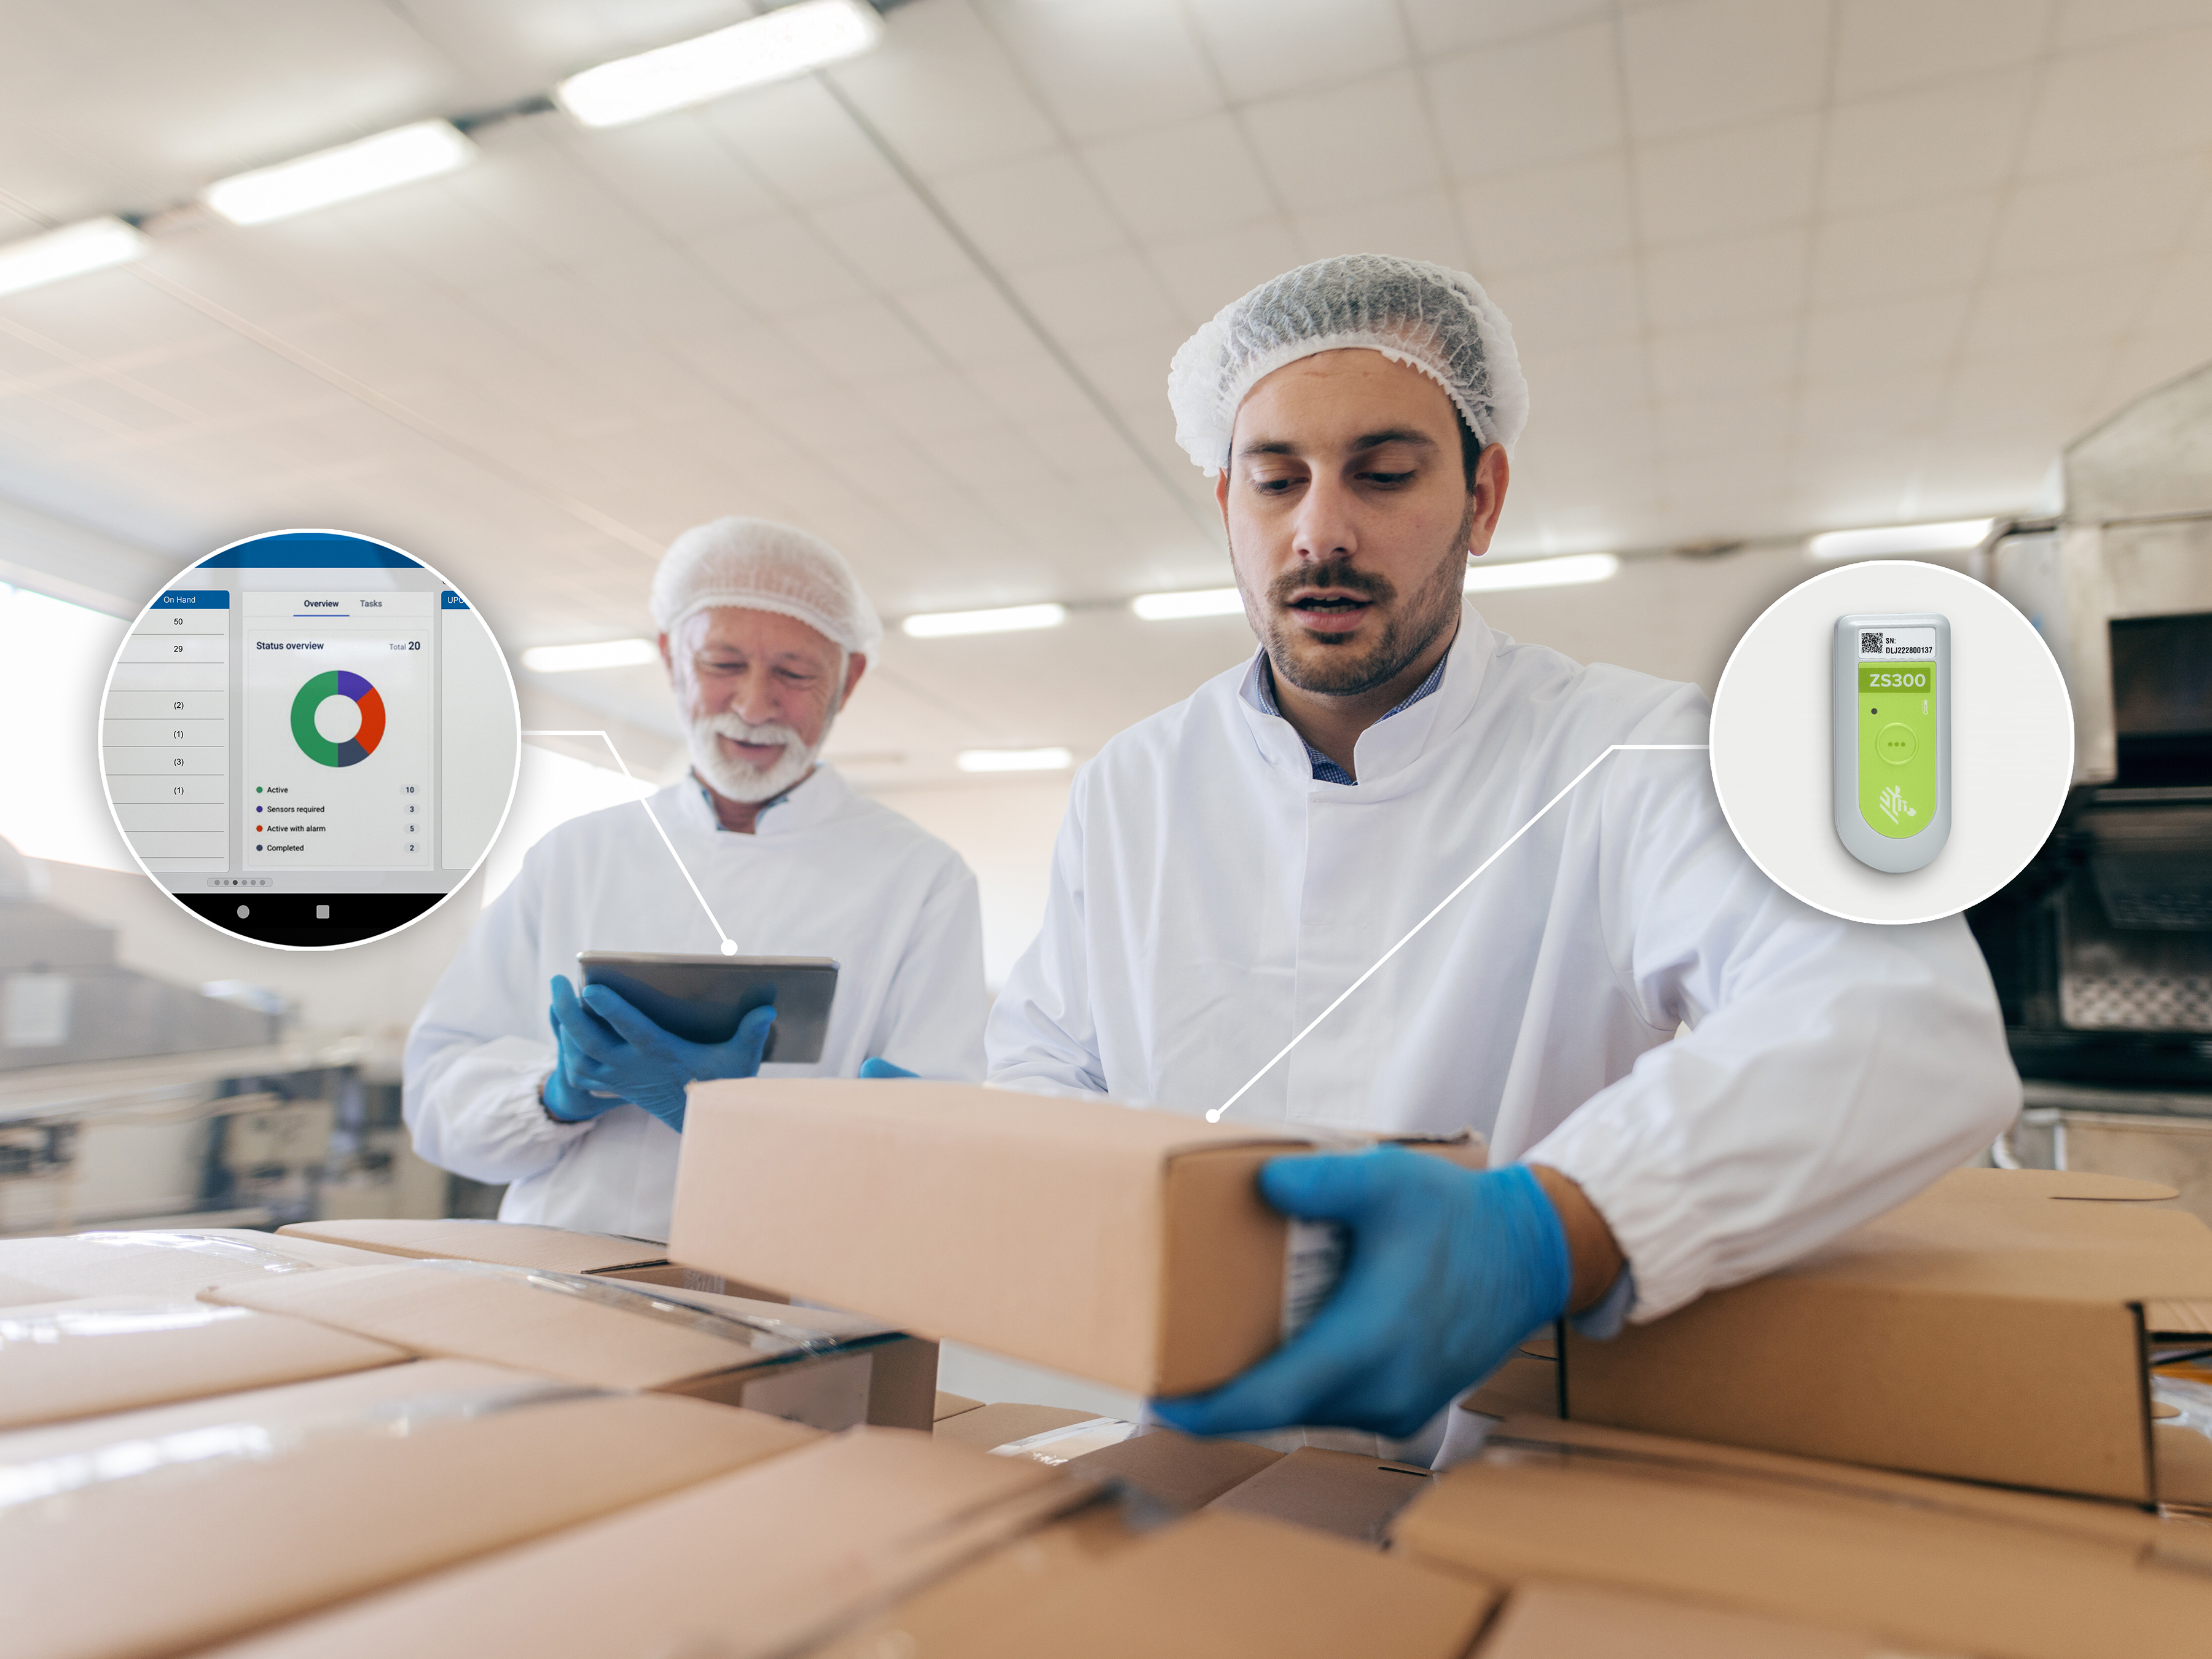
Automate Cold Chain Monitoring
See how Zebra’s electronic sensors improve temperature tracking with automated data capture, Bluetooth connectivity and real-time alerts. Learn how to reduce waste, boost accuracy and support compliance across shipping, storage and handling.
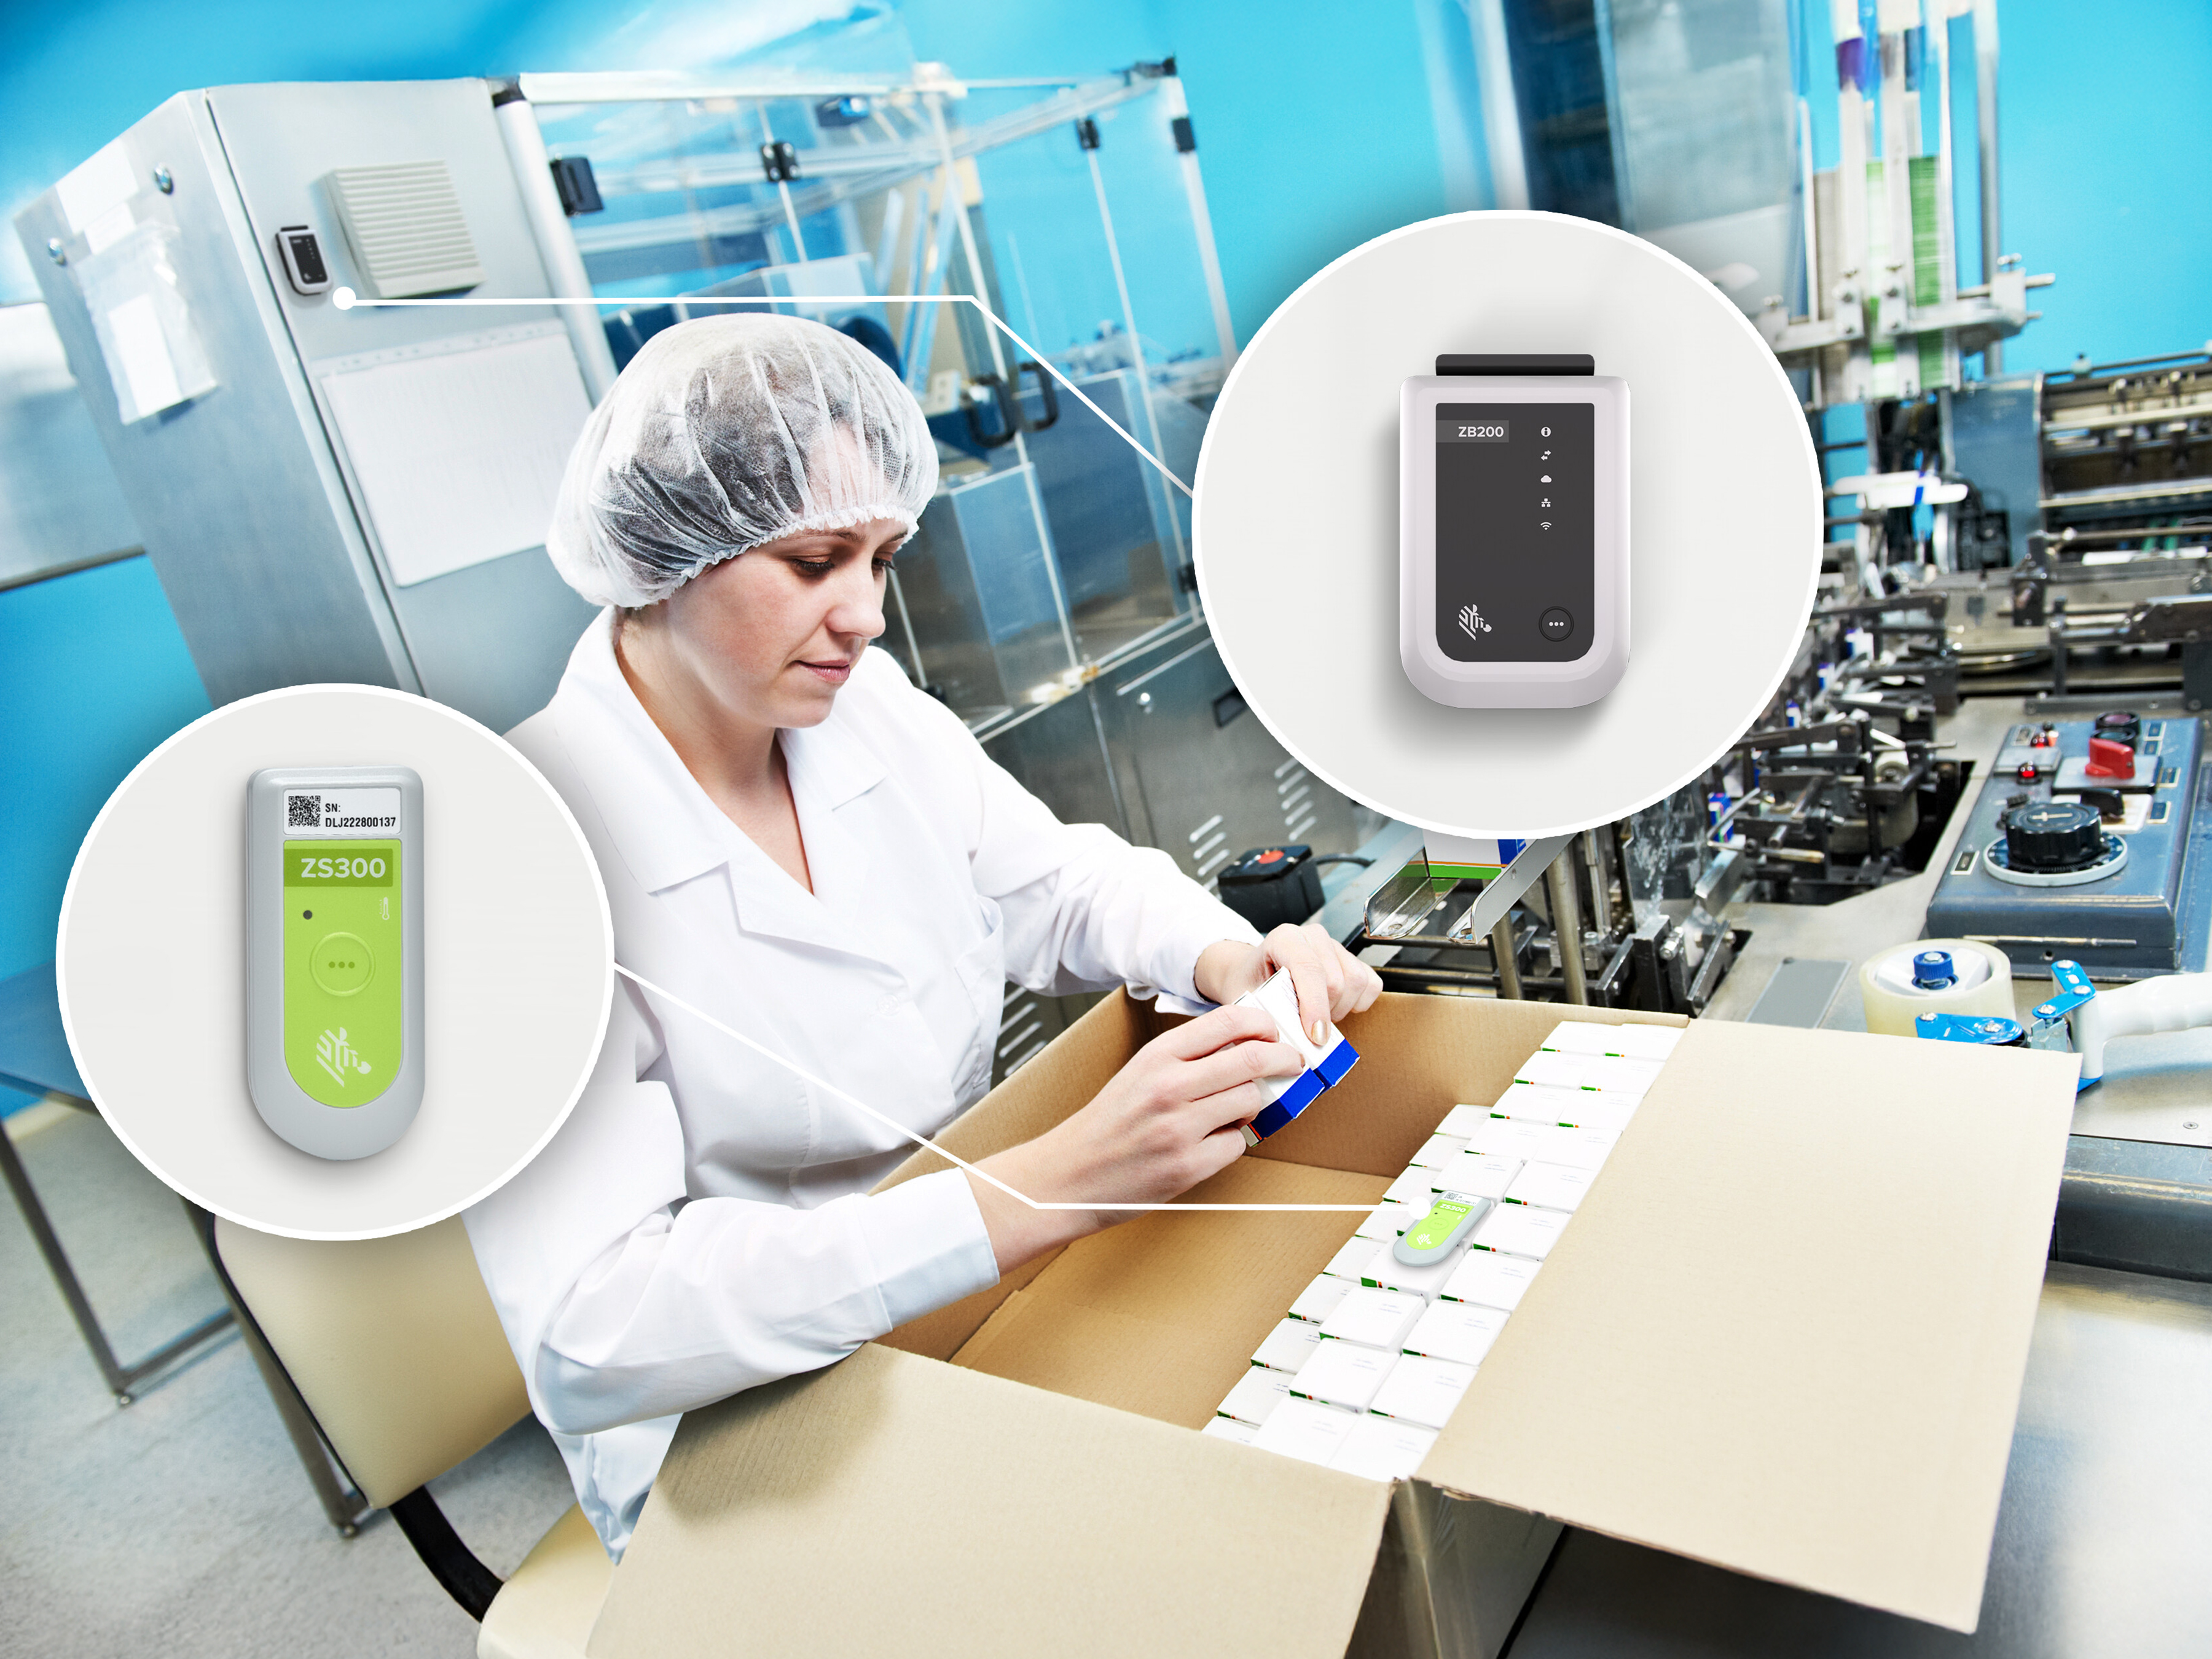
Transform Your Cold Chain
Watch how Zebra’s environmental sensors and smart supplies work together to improve cold chain visibility, reduce waste and automate compliance. Discover how real-time data helps protect quality and streamline operations across industries.
